You’ve spent hours meticulously selecting the perfect shade, priming every inch, and carefully applying layers of Paint to your walls. The once-dull space has come to life with vibrant colours and a fresh ambiance. Yet, as you put down the paintbrush and admire your handiwork, you might wonder, “What’s next?”
Painting interior walls is just the beginning of your home transformation journey. This article will guide you through the often-overlooked steps after painting walls. From enhancing the overall aesthetic to ensuring longevity and maintenance, we’ll explore many creative and practical solutions to elevate your space beyond the surface.
Whether you’re a DIY enthusiast or a homeowner seeking professional painters insights, join us as we delve into the post-painting process. Discover the secrets to making freshly painted walls the focal point of a truly captivating living space. Let’s explore the endless possibilities that await, turning your painted walls into a canvas for boundless creativity and personal expression.
Allow Adequate Drying Time
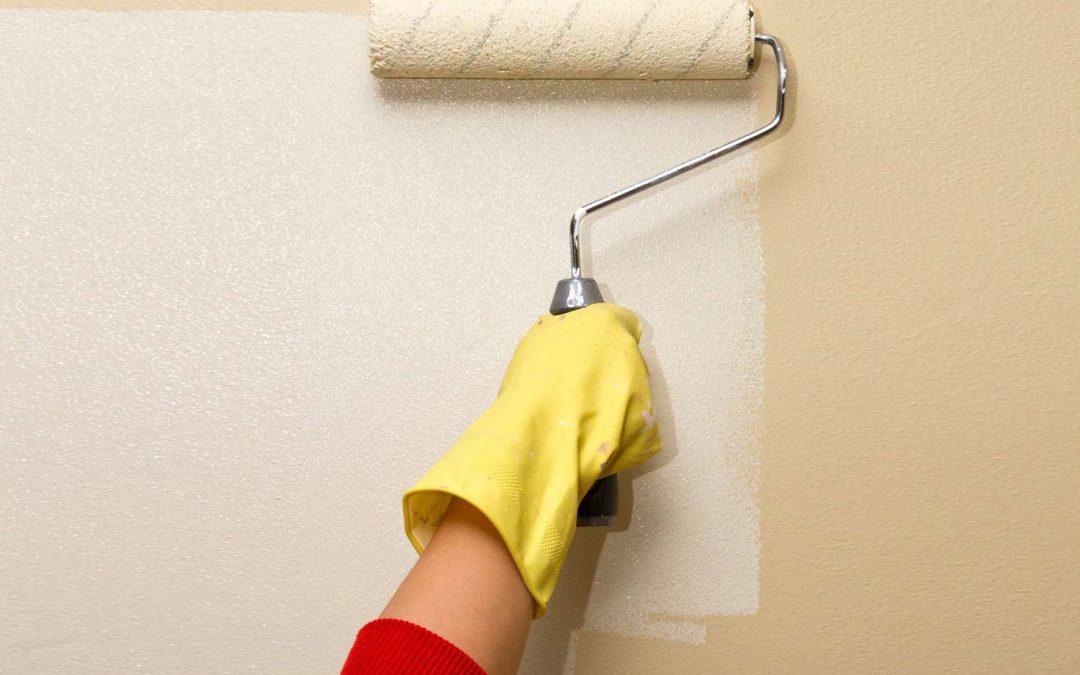
After painting walls, one of the crucial steps is to Allow Adequate Drying Time for the Paint to set and cure properly. This period is essential because it ensures the Paint adheres well to the surface of your wall, providing a smooth and long-lasting finish. Rushing this step could lead to various issues, such as streaks, uneven texture, or easily damaged surfaces.
By patiently waiting for the Paint to dry, you allow the chemicals in the Paint to react with the air, creating a sturdy bond with the wall. The recommended drying time varies based on the type of Paint used and environmental factors like humidity and temperature. Generally, latex paints often require around 24 hours to dry to the touch and a few weeks to cure fully, while oil-based paints might take longer.
Remove Painter’s Tape After Painting Walls
The step “Remove Painter’s Tape” is a pivotal moment After Painting Walls. This process involves delicately removing the painter’s tape used to protect areas not meant to be painted, ensuring clean and precise lines.
When the Paint is still slightly tacky to the touch but not fully dry, carefully remove the painter’s tape at a 45-degree angle. This angle prevents the newly applied Paint from peeling off with the video, leaving behind sharp, well-defined edges.
Removing the painter’s tape reveals the crisp borders between painted and unpainted surfaces, giving your walls a professional, polished look. This step marks the transition from the painting phase to the final stages of the process, setting the stage for other essential tasks such as touch-up painting and cleaning up any residual paint marks.
Touch-Up Painting
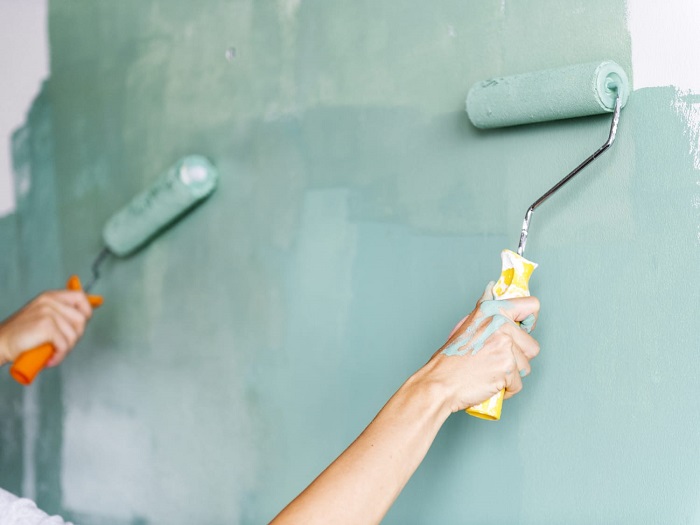
Touch-up painting is a meticulous task that takes place After Painting Walls and plays a vital role in perfecting the finished look of your painted space. This step involves carefully inspecting the freshly painted walls for any missed spots, uneven coverage, or accidental drips and correcting these imperfections.
Armed with the same paint colour and type used earlier, touch-up painting allows you to address areas where the Paint might not have adhered uniformly or where the underlying surface is still visible. Using a small brush, you can precisely apply Paint to these problem areas, seamlessly blending them with the rest of the wall.
Touch-up painting aims to create a seamless, consistent appearance across all surfaces. By meticulously addressing these minor flaws, you enhance the overall quality of your paint job. This attention to detail ensures your walls are free from blemishes, creating a flawless backdrop for your decor and furniture.
Clean Up After Painting Walls
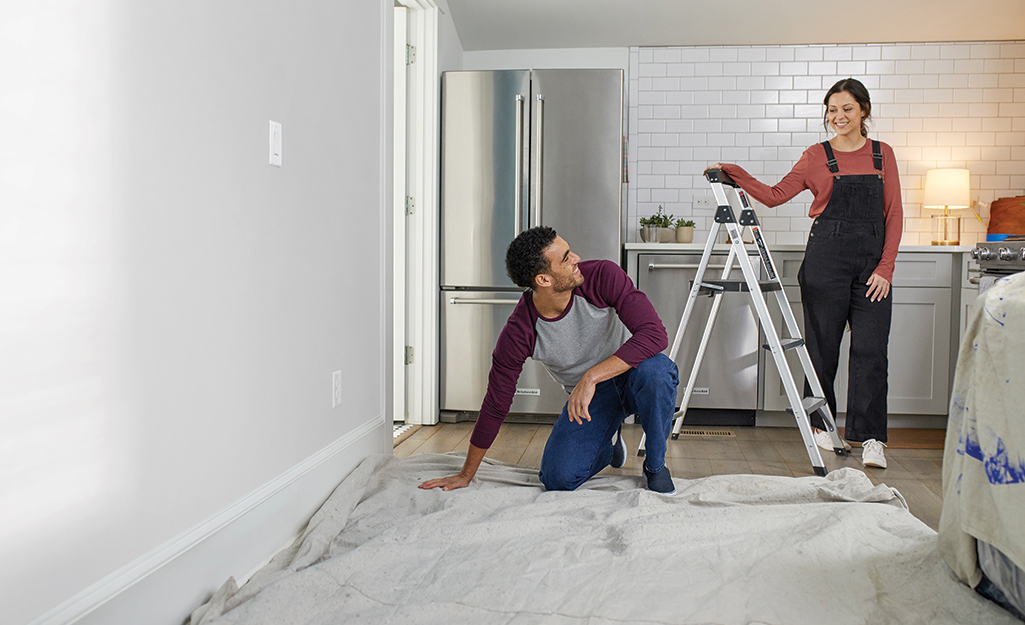
Clean-up is an essential step After Painting Walls, ensuring your work area is returned to its pristine state and your painting tools are well-maintained for future use. This process involves a series of tasks to tidy up the space and preserve your painting equipment.
Once the Paint has dried on your walls, start by cleaning your brushes, rollers, and other painting tools immediately. Proper Cleaning prevents dried paint residue, which can ruin the brushes and affect the quality of your future paint jobs. Use warm, soapy water for latex paint or the appropriate solvent for oil-based Paint.
Next, remove any painter’s tape, plastic sheeting, or drop cloths used to protect flooring and your furniture during the painting process. Dispose of these materials responsibly to minimize environmental impact.
Additionally, promptly clean any paint spills or splatters to prevent them from drying on surfaces. Use a damp cloth for latex paint and the appropriate solvent for oil-based Paint. Be thorough in checking corners, trim, and other areas where Paint might have splattered inadvertently.
Lastly, organize and store your leftover paint cans properly. Seal them tightly to prevent air exposure, label them clearly with the room they were used in, and note the date of application. Storing Paint correctly ensures it remains usable for touch-ups and future projects.
Reinstall Fixtures
Reinstalling Fixtures is a pivotal step After Painting Walls, signifying the final stages of your painting project. This task involves removing all the outlet covers, switch plates, light fixtures, and any other fixtures or decorations that were removed before painting.
Reinstalling these fixtures restores the room’s functionality and completes the visual aesthetics. Care and precision are essential during this step to ensure that the institutions align correctly and snugly fit against the newly painted walls. Proper alignment contributes to the overall polished appearance of the room.
Before reinstalling fixtures, please take a moment to wipe them clean and remove any dust or paint residue that might have accumulated during the painting process. This attention to detail ensures that your fixtures look brand new against the fresh backdrop of your painted walls.
Inspect for Imperfections After Painting Walls
Inspecting for Imperfections is a crucial step After Painting Walls, allowing you to scrutinize your work and identify any flaws or irregularities that might have occurred during the painting process.
This meticulous inspection involves carefully assessing the freshly painted walls under various lighting conditions. Look out for streaks, roller marks, air bubbles, or areas where the Paint might not have adhered evenly. Check corners, edges, and trim for any discrepancies in colour or texture. Additionally, inspect for foreign particles that might have settled onto the wet Paint, creating imperfections.
Once imperfections are identified, they can be rectified through touch-up painting or other necessary corrective measures. Addressing these issues promptly ensures that your walls boast a flawless finish, enhancing the room’s overall visual appeal. This step is about achieving aesthetic perfection and ensuring the longevity of your paint job by correcting potential vulnerabilities.
Seal the Paint
Sealing the Paint is a vital post-painting step After Painting Walls, ensuring the longevity and durability of freshly painted surfaces. This process involves applying a clear paint sealer or topcoat over the painted walls to protect the finish and enhance its resilience against wear and tear.
Sealing the Paint serves several purposes. It creates additional protection that shields the painted surface from stains, moisture, and mildew, extending the life of your paint job. Additionally, it makes the walls easier to clean, allowing you to wipe away dirt and smudges without damaging the Paint.
The clear sealer acts as an invisible shield, preserving the vibrancy and richness of the paint colour. It also adds a subtle sheen, enhancing the visual appeal of the walls and providing a professional, polished finish. Furthermore, the sealer can help prevent the Paint from fading due to exposure to sunlight, ensuring that your walls remain fresh for years to come.
Choosing the correct type of sealer is essential, as different sealers are suitable for specific paint finishes (matte, satin, gloss, etc.) and surfaces. Applying the sealer evenly with the appropriate tools guarantees uniform coverage, enhancing the overall aesthetics of your painted walls.
Required Curing Time After Painting Walls
Curing Time is a vital phase that follows the application of Paint After Painting Walls. This step involves allowing the painted surfaces to undergo a curing process, where the Paint fully dries, hardens, and reaches its maximum durability. While Paint may feel dry to the touch within a few hours, it takes considerably longer to cure completely.
During the curing period, the Paint undergoes chemical reactions with the air and binds tightly to the surface. This process enhances the Paint’s resistance to damage, making it less susceptible to scratches, stains, and other forms of wear. Proper curing also ensures the Paint maintains its colour and finish over time.
The duration of curing time varies based on factors such as the type of Paint used, environmental conditions (like temperature and humidity), and the thickness of the paint layers. Generally, latex Paint takes about 30 days to cure fully, although it may be safe for light use after a few days. Oil-based paints typically require extended curing, often up to 60 days or more.
During the curing period, handling painted surfaces with care is essential. Avoid placing heavy objects against the walls, and be cautious while cleaning or moving furniture. While the Paint may appear dry, it has reached its maximum strength once the curing process is complete.
Maintenance After Painting Walls
Maintenance is an ongoing commitment that starts After Painting Walls, ensuring your painted surfaces’ lasting beauty and integrity. This step involves regular care and attention to preserve the freshly painted walls and prevent wear and tear over time.
Regular maintenance tasks include dusting the walls frequently to remove dirt and prevent it from settling into the Paint. Delicate surfaces can be gently cleaned with a soft, damp cloth. For a better and stronger stains, use a mild soap and avoid harsh chemicals.
It’s essential to address any stains or marks promptly. The longer a shame sits, the harder it can be to remove without damaging the Wall Paint. Blot stains gently instead of rubbing, especially on delicate finishes.
Protect the walls from potential damage by placing furniture strategically using pads under the legs and corners to prevent scratches. Be cautious while moving items to avoid bumping or scraping the painted surfaces.
Regular inspections are also part of maintenance. Periodically check for signs of wear, like chipping or peeling Paint. Address these issues promptly with touch-up painting to prevent further deterioration.
Furthermore, maintaining consistent indoor climate conditions can prevent the Paint from cracking or blistering. Proper ventilation helps regulate humidity levels, ensuring the longevity of your paint job.
Lastly, store any leftover paint properly for future touch-ups. Seal the Paint can tightly and store it in a coo and dry place away from extreme temperatures.
Regular Cleaning of Painted Walls
Regular Cleaning is an essential task that should be performed diligently After Painting Walls, ensuring that your freshly painted surfaces retain their brilliance and cleanliness over time. Regular Cleaning maintains the painted walls’ aesthetic appeal and contributes to a healthier living environment.
Dust and dirt can accumulate on painted surfaces, dulling the colours and diminishing the overall visual impact. Regularly dusting the walls with a soft microfiber cloth or a duster helps prevent the buildup of grime. Pay special attention to corners, baseboards, and other often-overlooked areas.
Use a mild cleaning solution with a soft sponge or cloth to wipe down the painted walls for a more thorough cleaning. Avoid abrasive cleaning materials, as they can scratch or damage the Paint. If your walls are stained, address the stains promptly with the appropriate cleaning solution recommended for the type of Paint used.
In high-traffic areas or spaces prone to splashes and spills, such as kitchens and bathrooms, it’s essential to clean the walls more frequently. Grease and moisture can accumulate, leading to discoloration if not removed promptly.