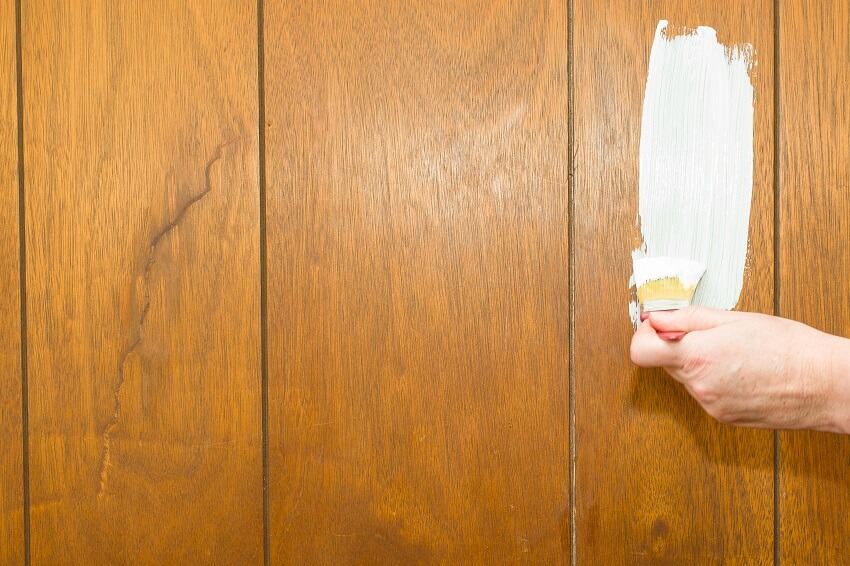
While wood paneling can create a cozy and inviting atmosphere in a home, outdated or damaged paneling, or those made of low-quality veneer, may require an upgrade. Removing it can be expensive, so opting for a coat of paint is a more cost-effective solution. By doing so, dull and worn-out paneling can instantly appear brighter and fresher without breaking the bank. In this guide, we will show you how you can paint wood paneling in your home without having any problems.
Is it Realy a Good Idea to Paint Wood Paneling?
The topic of painting wood paneling and moldings is often a subject of discussion, particularly when it comes to solid wood paneling of higher quality. In contrast, there is a definitive answer regarding the inexpensive wood veneer that was popular during the 1970s, which is a resounding yes.
However, deciding whether to paint solid-wood paneling can be more complicated due to several factors. Firstly, the process is irreversible, so careful consideration is necessary. Solid-wood planks can have multiple joints that may open up and reveal hairline cracks if they contract during low-humidity weather conditions.
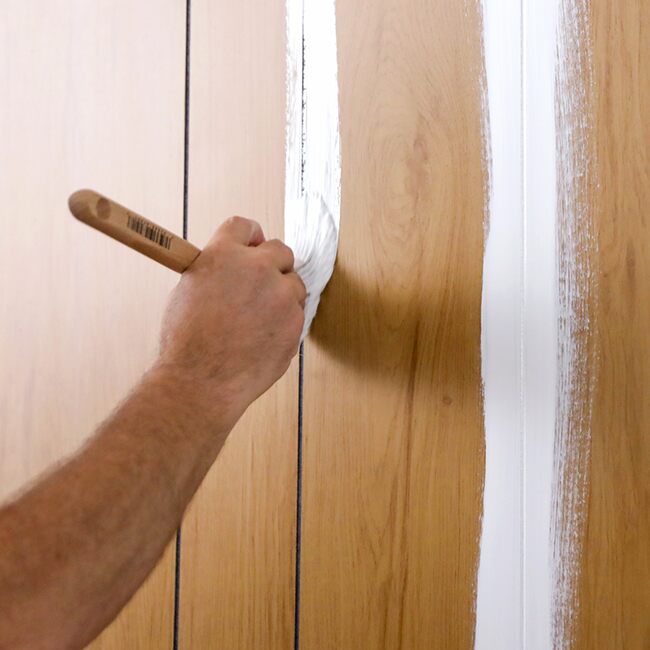
IMPORTANT NOTE: If the paneling has old paint, which was probably applied prior to 1980, it is recommended not to sand it unless the paint is tested to verify that it does not contain lead. If the old paint is confirmed to have lead, it is better to avoid sanding. Instead, you can use a high-quality primer to ensure proper adhesion of the new paint.
For the best results when painting over wood paneling in your home, it is essential to follow the correct procedure that we have provided in this guide. Although it may seem unnecessary, cleaning, sanding, and priming the paneling is crucial for optimal results. An oil-based primer may be a wise choice to prevent bleed-through and ensure good coverage.
Tools and Materials You Will Need for Painting Wall Paneling
- Rags
- Putty knife
- Caulking gun
- Paint roller with foam roller covers
- Paintbrush
- TSP or TSP substitute
- Wood filler
- 150-grit sandpaper
- Caulk
- Stain-blocking primer
- Wall paint
- Trim paint
- Trisodium phosphate
- Rubber gloves
- Protective goggles
- Respiratory mask
- Bucket
- Sponge
- 220-grit sandpaper
- Tack cloth
- Vacuum
- Drop cloths
- Painter’s tape
- Paint roller
- Foam sponge roller cover
- Interior stain-blocking paint primer
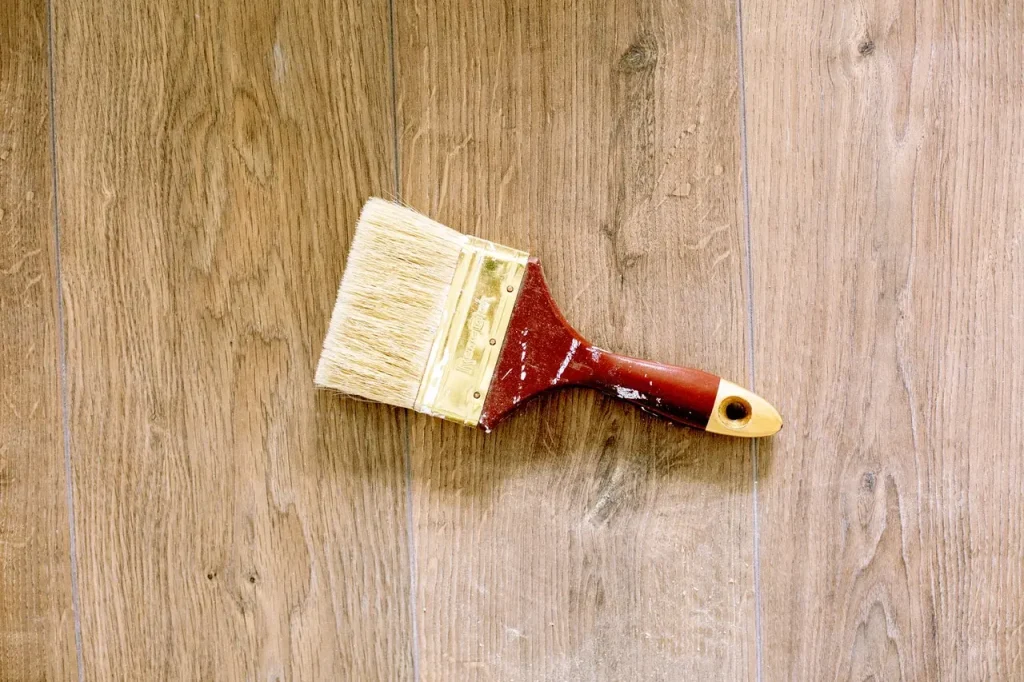
Now that you are all set let’s start painting wood paneling and making your old veneer wood shine.
1: Preparation and Measurement
If you want to paint wood paneling and achieve the best results, preparation is the first step you need to take.
This step involves getting the required tools and materials and measuring the width and height of the wood paneling to determine the amount of paint you will need. Multiply the height by the width to get the total square footage, and then divide by the paint coverage rate you will be used to determine the amount of paint needed.
2: Clean Your Wood Paneling Before Painting It
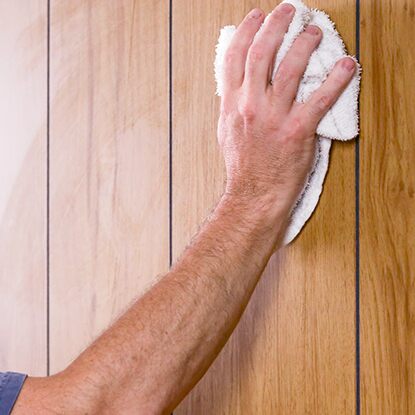
To prepare wood paneling for painting, begin by wiping it down with a damp cloth to eliminate any dust or dirt.
If any difficult stains, such as grease, are present, utilize a gentle cleaning solution to remove them and wipe the surface with a clean, damp cloth. Be sure to clean thoroughly the grooves of the panels, which are likely to collect dust. Allow the wall to air dry entirely.
Or, you can prepare a trisodium phosphate (TSP) solution and water. However, it is important to protect yourself from this toxic cleaner. Put on full-sleeve clothing, rubber gloves, glasses, and a respiratory mask before using it. Open windows in the room to ensure proper ventilation. Dilute the TSP in a bucket of water, and use a sponge dampened in the solution to wipe down the wood paneling thoroughly.
3: Fill Nail Holes in Your Wall Paneling
To fill any nail holes or other flaws, utilize spackling compound and a putty knife to evenly apply the compound over the blemishes. The color of the putty is not a concern since it will dry to a neutral shade and be concealed by the paint. Allow the spackling to dry completely before smoothing it down with sandpaper. You can utilize a tack cloth to remove any dust from the surface after sanding.
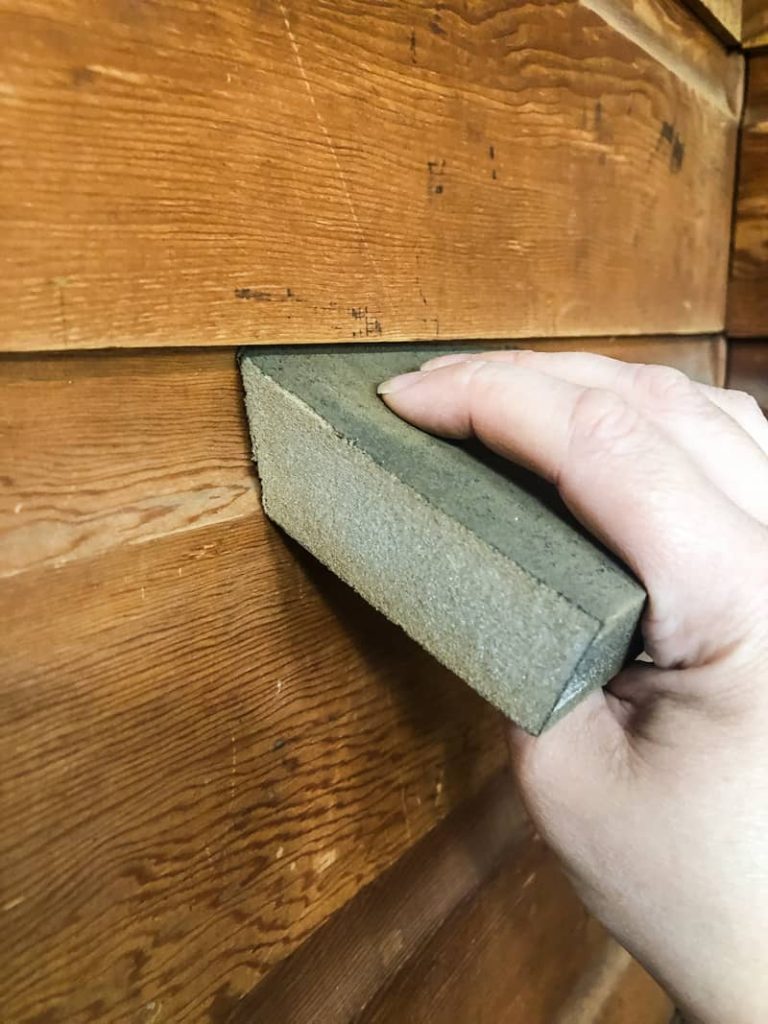
4: Lightly Sand Your Wood Paneling
The next step is to lightly sand the paneled walls using a technique called “scuffing.” The objective is to establish a strong mechanical bond between the wall and the initial coat of primer. Using 220-grit sandpaper, make even circular motions during the process. While modern primers are exceptional and may not require sanding, I recommend doing so for long-lasting protection against chipping paint. Wear a dust mask and wipe away any dust with a tack cloth or damp rag as you work for cleanliness and health reasons. This is also an ideal moment to vacuum the floor to avoid tracking dust from one room to another.
5: In Some Cases, You Need to Remove the Trim
If you intend to keep the existing color of the trim or paint it a different hue from the wood paneling, extract it from the wall using a prybar while being cautious.
In case you want to paint the trim the same color as the wood paneling, you need to lightly sand the adjacent wood trim on baseboards to allow the paint to adhere better. After sanding, utilize a clean, damp cloth to wipe away any dust or debris from the walls and trim. Touch up any rough sanding spots as you go.
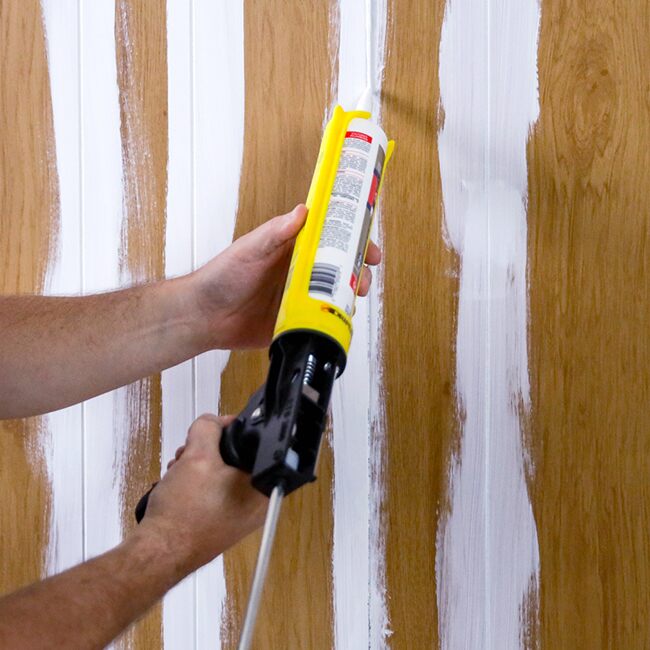
6: Caulking the Cracks
Apply caulk to any gaps or cracks where the paneling meets the baseboard and ceiling, as well as around doors and windows, using a caulk gun. This will provide your room with a smooth and polished appearance. Allow the caulk to dry completely before you paint the wood paneling.
Also, use “paintable” caulk to fill gaps between the paneling planks, between the panels and trim, and around the windows and doors. Follow the manufacturer’s instructions for drying time and allow the caulk to dry completely.
7: Always Protect the Surrounding Areas When Painting Wall Paneling
To avoid making a mess while painting wood paneling, it’s crucial to take this step. Begin by laying down drop cloths or old newspapers on the floor that are large enough to cover the entire paneled wall area. This will protect your flooring from any dripping paint. Then, use painter’s tape to cover and protect any areas you want to keep paint-free, like windows, doorways, and vents.
8: Prime and Paint Wood Paneling
For applying a thin coat of primer to all of the paneling, you can use a foam sponge roller and a brush or simply a brush alone.
Have a brush on your hand to reach any cracks, seams, or corners where the roller can’t get, and remove drips. Cover the entire surface, including any trim.
Using an oil- or water-based stain-blocking primer is recommended, as they prevent grease or wood stains from showing through and spoiling your paint job.
Note: For painting knotty pine, it is recommended to use a knotting primer that is specifically formulated to cover knots. Knots tend to bleed through several layers of paint if not primed properly, so using a knotting primer can prevent this issue.
To paint all paneling surfaces, start at the top and work your way down, ensuring all panel gaps are covered. Remove excess paint from panel grooves using a brush and attend to drips immediately. Let the first coat dry according to instructions, then apply a second coat for the best coverage and durability. Although the wall may seem finished after the primer and first coat, a second coat is recommended and will be worth the additional time and materials.
9: Paint the Trim If Needed
To paint the trim, choose your preferred color and finish. Typically, using a glossier finish for the walls highlights the trim and makes cleaning more accessible by creating a smoother surface. However, the choice of finish ultimately depends on personal preference.
How Long Does it Take to Paint Wood Paneling?
The amount of time it takes to paint wall paneling can vary depending on several factors, such as the size of the room, the condition of the paneling, and the complexity of the painting process.
Generally, painting wall paneling can take a few days to complete. This includes time for cleaning, sanding, priming, and painting. You also need to consider the drying time of the paint and primer that you use, which can vary based on the type of paint and environmental conditions.
Allowing adequate drying time between coats is important to ensure a smooth and long-lasting finish.
Don’t Want to Do It Yourself?
If you don’t want to give your time to paint wall paneling, the best solution would be to find a reliable home painting company and leave the rest to the professionals.
Professional painters are typically well-equipped with the necessary tools and experience to complete painting jobs efficiently. As a result, they can often finish the job in half the time it would take an inexperienced individual to do it themselves. Additionally, professional painters have access to high-quality paints and materials, which can result in a better and longer-lasting finish. Hiring a professional painter may involve additional costs, but it can ultimately save time and provide a more satisfactory outcome.

