Your home’s exterior is its first impression – a reflection of your style, taste, and pride in ownership. If your vinyl siding has lost its lustre, is showing signs of wear, or simply doesn’t match your evolving aesthetic, fear not! Painting vinyl siding can be a budget-friendly and transformative solution to breathe new life into your home.
In this guide, we will walk you through the step-by-step process of how to paint vinyl siding, providing you with expert tips, best practices, and essential considerations to ensure a successful and long-lasting finish. Whether you’re looking to refresh the colour, update your home’s curb appeal, or protect your siding from the elements, this article will be your go-to resource for achieving professional-looking results. So, roll up your sleeves and get ready to embark on a DIY project that will leave your home looking refreshed, renewed, and ready to make a statement in your neighbourhood.
Tools You Need For Painting Vinyl Siding
High-Quality Exterior Paint:
Choose a durable, fade-resistant exterior paint specifically formulated to paint vinyl siding. This will ensure a long-lasting finish that withstands the elements.
Vinyl-Safe Primer:
Invest in a primer designed for painting vinyl surfaces to enhance paint adhesion, providing a solid foundation for a professional-looking result.
Cleaning Supplies (Cleanser, Brush, Hose/Pressure Washer):
Ensure a clean surface by using a gentle cleanser, a soft-bristle brush, and a hose or pressure washer to remove dirt and mildew before you paint vinyl siding.
Drop Cloths or Tarps:
Protect your landscaping and surfaces from paint drips or spills by using drop cloths or tarps.
Painter’s Tape:
Achieve clean lines by using painter’s tape to mask off areas like windows, trim, and fixtures.
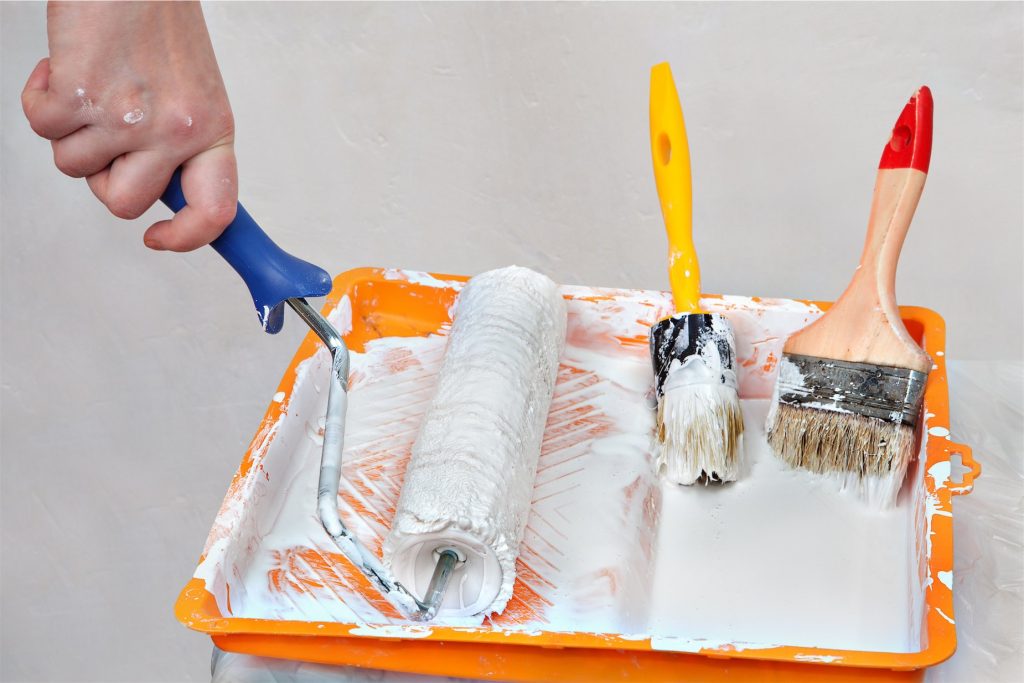
Paint Rollers and Brushes:
Opt for high-quality paint rollers and brushes designed for painting vinyl siding or any other exteriors to cover large areas and handle detailed work.
Extension Pole:
Make reaching high or awkward areas easier with an extension pole for your paint roller, eliminating the need for constant ladder adjustments.
Ladder:
Ensure access to higher sections of vinyl siding with a sturdy ladder.
Paint Tray and Liners:
Simplify cleanup and allow for quick colour changes with a paint tray equipped with disposable liners.
Respirator Mask:
Protect yourself from fumes when working with primer and paint by using a reliable respirator mask during painting vinyl siding.
Safety Glasses:
Shield your eyes from splatters or debris with safety glasses.
Gloves:
Always Wear gloves to protect your hands when painting vinyl sidings from paint and cleaning chemicals.
Weather-Appropriate Clothing (Hat, Sunscreen, Layers):
Consider the weather conditions and dress accordingly, wearing a hat and sunscreen in sunny weather and dressing in layers in cooler temperatures.
Paint Vinyl Siding: Professional Process
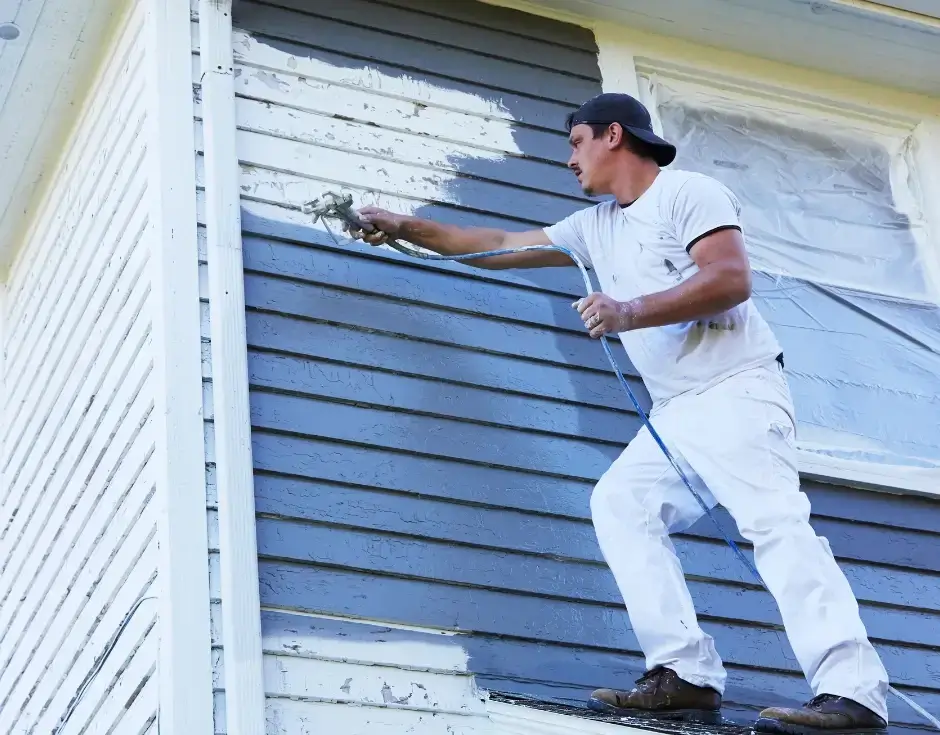
Painting vinyl siding requires a careful and professional approach to ensure a flawless and long-lasting finish. Follow these steps to execute the process like a pro:
Surface Preparation:
Begin by thoroughly cleaning the vinyl siding. Use a mild cleanser, a soft-bristle brush, and a hose or pressure washer to remove dirt. Allow the vinyl siding surface to dry completely before proceeding.
Inspect and Repair:
Examine the siding for any damaged or loose panels before you start painting vinyl siding. Replace or reattach them as needed. Fill any gaps or cracks between the siding panels with an appropriate exterior caulk to create a smooth and uniform surface.
Priming:
Apply a vinyl-safe primer to enhance the adhesion of the paint. Ensure the primer is compatible with both vinyl and the chosen paint. Allow the primer to dry on your siding according to the manufacturer’s instructions.
Colour Selection:
Choose a high-quality exterior paint specifically formulated for painting vinyl siding. Select a colour that complements your home’s aesthetic and consider lighter shades to prevent excessive heat absorption.
Masking and Protecting:
Use painter’s tape to mask off areas on your siding that you don’t want to paint, such as windows, trim, and fixtures. Protect surrounding surfaces and landscaping with drop cloths or tarps.
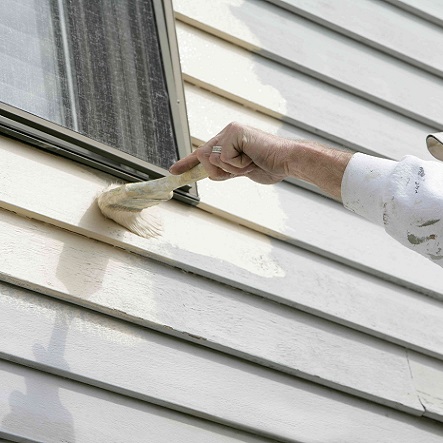
Applying the Paint:
Begin to paint vinyl siding with a high-quality brush for detailed work, edges, and corners. Use a paint roller for larger, flat surfaces. Work in small sections, ensuring an even and consistent coat. Pay extra attention to avoid drips and streaks.
Two Coats:
Allow the first coat of painting to dry completely on your vinyl siding before applying the second coat. Follow the recommended drying time on the paint can. Applying two coats ensures better coverage and durability.
Cleanup:
Remove painter’s tape and protective coverings only when the paint is fully dry to the touch. Clean your brushes and rollers according to the paint manufacturer’s instructions.
Final Inspection:
Once the paint has dried, inspect the vinyl siding for any touch-ups or uneven areas. Address any imperfections promptly to achieve a professional-looking result.
Weather Considerations:
Choose a suitable time for painting vinyl siding, preferably when the weather is mild and dry. Avoid extremely hot or cold conditions, as they can affect the paint’s application and drying process.
By following these professional steps, you can transform your vinyl siding with a fresh and enduring finish, enhancing the curb appeal and overall aesthetic of your home.
Challenges of Painting Vinyl Sidings
1. Adhesion Issues: Painting vinyl siding can be challenging due to its smooth surface, which may impede paint adhesion. Without proper preparation and priming, the paint may peel and flake over time.
2. Expansion and Contraction: Vinyl siding expands and contracts with temperature changes. If the paint is not flexible enough, it may crack or peel as the siding moves, affecting the overall appearance.
3. Colour Limitations: Opting for a significantly darker paint colour than the original siding can lead to heat absorption problems. Dark colours absorb more heat, potentially causing the vinyl to warp or distort.
4. Limited Color Change: Changing from a darker colour to a lighter one may be challenging, as dark pigments can show through lighter paints. It might require multiple coats to achieve the desired result.
5. Durability Concerns: While some paints are formulated specifically for vinyl, achieving the same level of durability as the original factory finish can be challenging. The painted surface may be more susceptible to scratches and fading.
6. Proper Cleaning and Surface Preparation: Vinyl siding must be thoroughly cleaned before being painted to ensure proper adhesion. Failing to clean the surface adequately can result in the paint not bonding well with the siding.
7. Weather Conditions: Choosing the right weather conditions for painting is crucial. Extreme temperatures, high humidity, or rain shortly after painting can affect the drying and curing process, leading to suboptimal results.
8. Priming Challenges: Finding a primer that adheres well to vinyl and promotes paint adhesion can be challenging. Using an incompatible primer may lead to peeling or a poor-quality finish.
9. Cost of Quality Paint: High-quality exterior paint formulated for vinyl siding tends to be more expensive. Cutting corners on paint quality may result in a finish that doesn’t stand up well to the elements.
10. Professional Assistance: Achieving a professional-looking finish on vinyl siding may require help of professional house exterior painters. DIY painters may find it challenging to produce the same results as professionals.