Do you want to learn how to mix paint for spray guns to spray paint walls? You are in the right place. We have provided a complete step-by-step and straightforward guide that you can use without difficulties and mix paint for your spray gun today.
What aspects should you consider when you’re aiming to utilize your HVLP spray gun? Are you concerned about the need to frequently acquire various paints and potentially causing harm to your spray gun? No need to worry. Numerous methods exist to gain knowledge on thinning paint, enabling you to mix paint for spray guns effectively.
When it comes to utilizing various paint types like latex paint, acrylic paint, encapsulants, and more, acquiring knowledge of the optimal approach is highly feasible.
This ensures that you always avoid excessive difficulties with thick or unmixed paint.
Learning the best methods empowers you to effortlessly mix paint for spray guns, regardless of the paint type being used.
When paint sprayer owners inquire about mixing air with acrylics, professional spray painters commonly advise them to ensure a ratio of two parts paint to one part thinner. This technique is particularly suitable for solvent-based paints and does not necessitate any undesirable components.
Mastering the skill of achieving the correct consistency for your spray gun can result in substantial cost savings and enhance the longevity of your spray paint. It allows you to mix paint for spray guns while maintaining optimal performance effectively.
Before Learning How You Can Mix Paint for Spray Guns, Let’s Discuss Thinning First
Now, let’s delve into the topic of paint thinners.
Firstly, it’s important to highlight that the type of paint thinner commonly found at Home Depot or Lowes, intended for mixing with regular paints, is unsuitable for our purpose.
The measurement system employed in such thinners might not be accurately calibrated, and the adhesion quality will likely be compromised.
The optimal approach in this scenario is to opt for a sprayer specifically designed for commercial applications, available at your local hardware store.
These sprayers are tailored to meet the requirements of professional use and are more reliable when it comes to achieving the desired consistency when you mix paint for spray guns.
Although paint encompasses many types and brands, there are tricks to determine the appropriate viscosity for your spraying requirements.
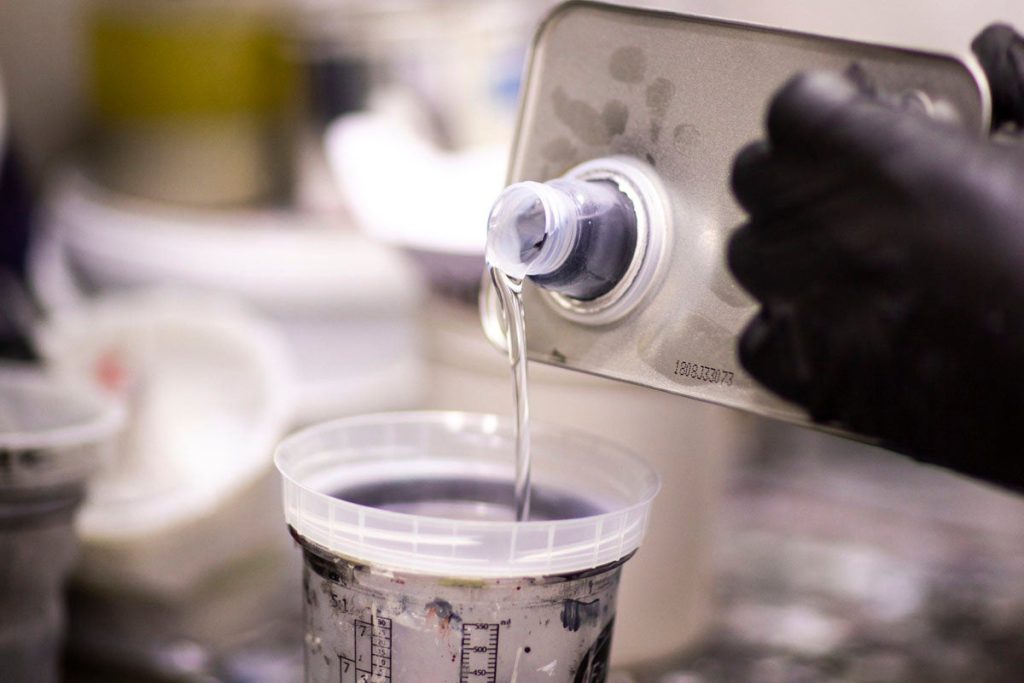
One effective method is to conduct a viscosity test using water alone. Fill the cup of your sprayer with water and tilt it to allow only air to enter the cup, then press the spray button. This experiment indicates the viscosity level suitable for your needs.
For optimal results, ensure the water temperature is approximately 60 degrees Celsius. You might also be contemplating how to thin water-based paint for your spray guns, which can be another aspect to explore in achieving the desired viscosity.
Each paint formulation is unique, composed of distinct compounds and chemicals, often varying in viscosity. Unfortunately, this diversity can occasionally result in issues and blockages within the paint gun while working on a project.
These complications can lead to time delays and have you toiling away into the late hours of the night. Additionally, the amount of water added may differ every time you thin paint for your spray gun.
However, the precise quantity of water you incorporate matters more than the frequency of mixing.
It is more valuable to discover what works best for your specific needs and preferences rather than relying on generic numbers provided by others based solely on their own experiences.
You Need These Tools to Mix Paint For Spray Guns
Before you learn how to mix paint for spray guns, you need to have access to the following tools and equipment:
- Paint Stir Stick: A sturdy stick or paddle used to stir and mix the paint thoroughly manually.
- Mixing Containers: Containers such as paint cans, buckets, or specialized mixing cups are designed to hold and mix the paint.
- Measuring Tools: Graduated measuring cups or scales to accurately measure the paint and any additives or thinners.
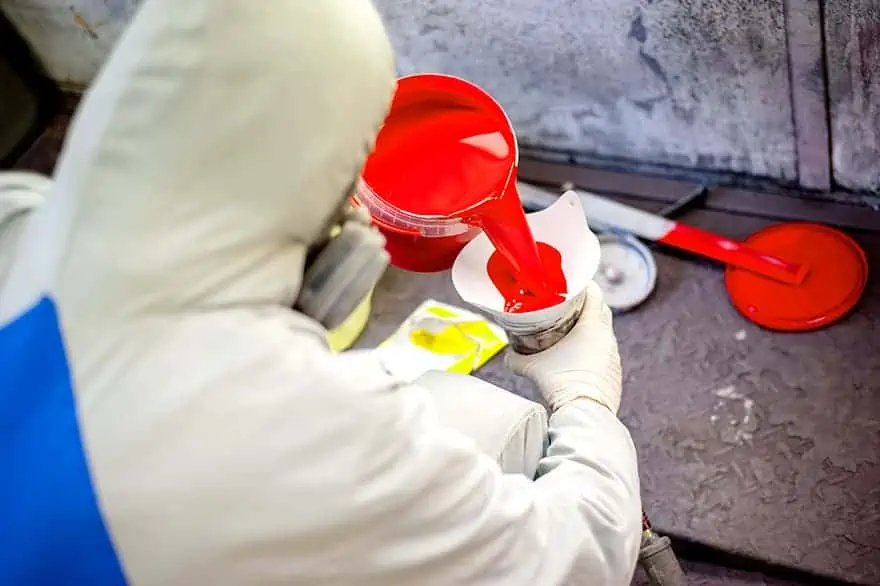
- Funnel: A funnel can help pour paint into smaller containers or the spray gun reservoir without spills or mess.
- Paint Strainer: A mesh or filter strainer that helps remove any impurities or clumps from the paint, ensuring a smooth application.
- Protective Gear: Safety goggles, gloves, and a respirator mask should be worn to protect yourself from paint fumes and potential splatters.
- Mixing Equipment: Depending on the scale of your project, you may need a drill with a paint mixer attachment or an electric paint mixer to achieve a thorough and consistent mix.
- Cleaning Supplies: Brushes, solvent or cleaner, and rags or paper towels for cleaning the spray gun and other equipment after use.
- Paint Additives or Thinners: Depending on the type of paint and desired consistency, you may need specific additives or thinners recommended by the paint manufacturer.
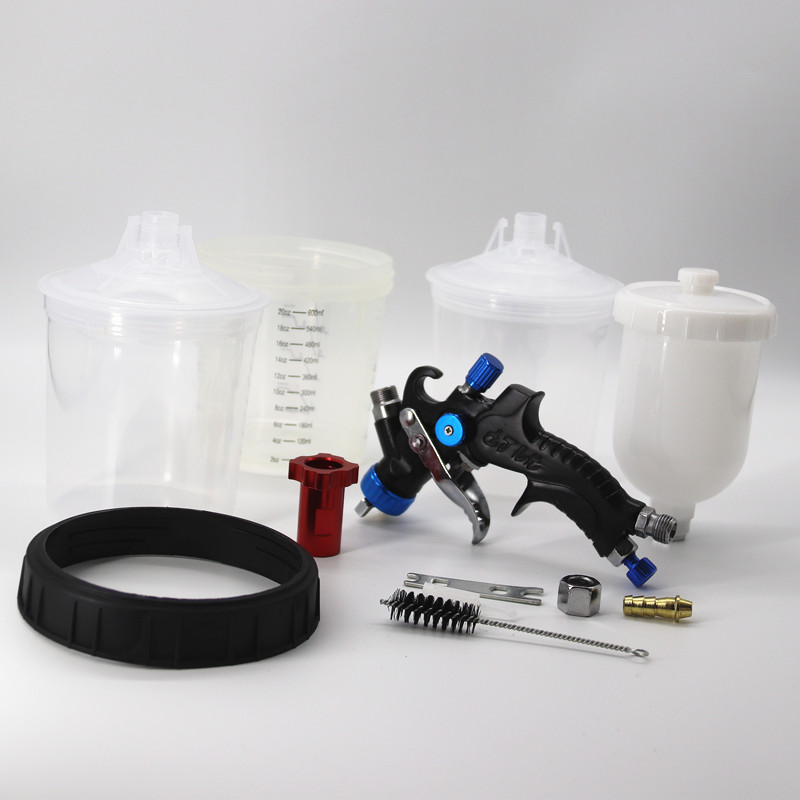
It’s important to note that the specific tools required can vary depending on the type of paint, project size, and personal preferences. Always refer to the paint manufacturer’s instructions and recommendations for the most accurate guidance on mixing paint for spray guns.
Now, Let’s Learn How To Thin or Mix Paint for Spray Guns
You must start the process after you purchase the tools for mixing paint for spray guns. All you need to do is follow these easy steps that we have provided for you.
Wear Your Protective Gear When Mixing Paint for Your Spray Gun
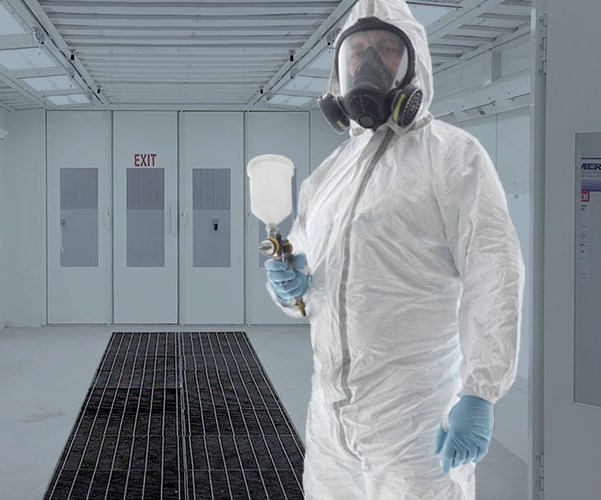
Always ensure to wear the proper safety equipment before you begin any paint project, especially when you need to mix paint for spray guns. While it may seem like overkill, it is a fact that paints can release toxic fumes when sprayed.
To avoid inhaling these noxious fumes, wearing a painter’s mask is crucial throughout the process. Additionally, using safety goggles and rubber gloves is highly recommended.
Though most toxins in paints aren’t absorbed through the skin, it’s still important to protect yourself from any potentially harmful ingredients that could cause skin irritation upon contact. Remember, your safety is paramount when mixing paint for spray guns.
Mix the Paint In the Water
To begin, it is crucial to properly prepare everything for the task, which involves mixing paint for spray guns.
A general guideline is to add 12-13 ounces of water for every gallon of paint, which equates to around ten percent of the gallon for every three pounds of color used.
Using a paint strainer can prove beneficial in achieving the desired consistency for your sprayer tips by ensuring any impurities or clumps are filtered out.
Opting for a composite stirring stick is the best way to attain that consistency, as it minimizes the mess on your fingers and facilitates easy cleaning once the painting is complete. Following these steps ensures a well-prepared mixture for your spray gun while maintaining cleanliness and efficiency.
For optimal mixing of paint, it is recommended to use a bucket as it allows the thinner to blend thoroughly with the paint.
However, it’s essential to be cautious and avoid excessive amounts of thinner.
Typically, anywhere between ¼ to 1 cup of thinner should suffice. Furthermore, when selecting the location to mix your paint, ensure adequate ventilation to prevent the fumes from causing harm to your lungs. Proper ventilation is crucial to maintain a safe and healthy working environment.

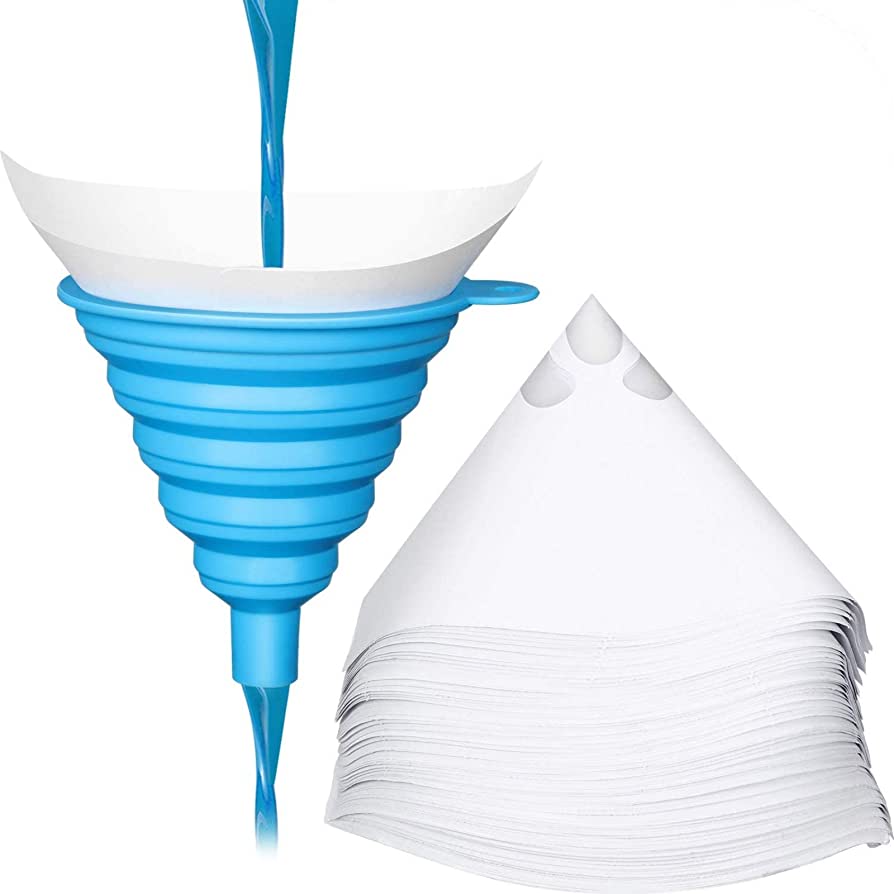
Pour Your Paint Into Strainer (Funnel) to Mix Paint for Spray Guns
The funnel serves as a crucial tool for ensuring a smooth and even flow of paint through the spray gun.
In your case, it allows you to verify if the paint flows as effortlessly through your business as claimed. To confirm this, slowly pour your paint mixture into the funnel. It would be best to observe that it flows freely and smoothly out of the bottom without encountering difficulties.
This indicates a properly set-up spray gun and a well-blended paint and water mixture.
If you encounter any issues in this process, you should find out the reasons behind it. If you cannot find where the problem is, it is best to contact a professional painter or company and ask for help.
Ensure the Ratio of Thinned Paint is Proper
It is essential to add water to paint with precision, as excessive amounts can lead to paint separation and a hazy appearance, rendering it unusable. For the best results you should follow the steps below:
- Begin by adding 10% water to the new paint and mix it thoroughly until fully incorporated.
- Next, add another 10% water and continue mixing for approximately 1 minute.
- After mixing, check the viscosity of the paint to assess its consistency.
- If the paint is still too thick but you observe a slight improvement in its consistency, you can test its flow by squeezing it through a funnel attached to the lid of a jar or plastic bottle.
By adhering to this method, you can achieve the ideal mixture for your spray guns without encountering issues such as separation or haziness.
This process will help you determine if additional water is required.
If not, remix the paint for another 30 seconds to ensure thorough blending.
To identify the ideal 10% water ratio, start by shaking or stirring the tin of paint for approximately 20 seconds to ensure it is well mixed without any lumps or clots. This step is crucial to prevent any interference with the release of air bubbles when pouring the paint into your jar (noting that the presence of large air bubbles is usual).
Refer to a reliable guide that provides instructions on thinning enamel paint for your spray gun. It will offer valuable insights into achieving the desired consistency.
It’s time to transfer the mixed paint into the spray gun. You can pour the mixture directly into the spray gun using a large spoon for assistance is an option.
After transferring the mixture as best as possible, take some time to research and learn about effective spray painting techniques. Acquiring knowledge in this area will contribute to achieving the best possible results.
Test Your Paint On Cardboard
Once you have mixed your paint and prepared it accordingly, the next step is to test the mixture to ensure its accuracy for spray guns. Use a sample surface, such as cardboard, to evaluate your paint mixture.
For the test, find a well-ventilated area with high ceilings outdoors or in a suitable room. Begin using your spray gun on a section of the surface that is not exposed to direct sunlight.
The paint should spray smoothly without dripping off from your working area, confirming that your preparation was done meticulously. This outcome indicates that every aspect of your paint mixing process was finely tuned for optimal use with spray guns.
However, suppose the trial does not yield the desired outcome. In that case, you may need to continue remixing the paint until you achieve the correct mixture for the specific circumstances. Alternatively, you may switch to another paint can as a random solution.
Now Start Spray Painting Your Wall
At last, once you properly mix paint for spray guns, you can spray paint the wall according to your preferences.
However, it is essential to apply several layers of paint evenly. Please do so to avoid the color not adhering properly and requiring a repaint soon.
Thin down the paint before applying it to the surface.
This not only helps you decrease your expenditure by using less paint but also contributes to the longevity of the color, allowing it to remain vibrant for a more extended period.
Clean Your Spray Gun After Painting
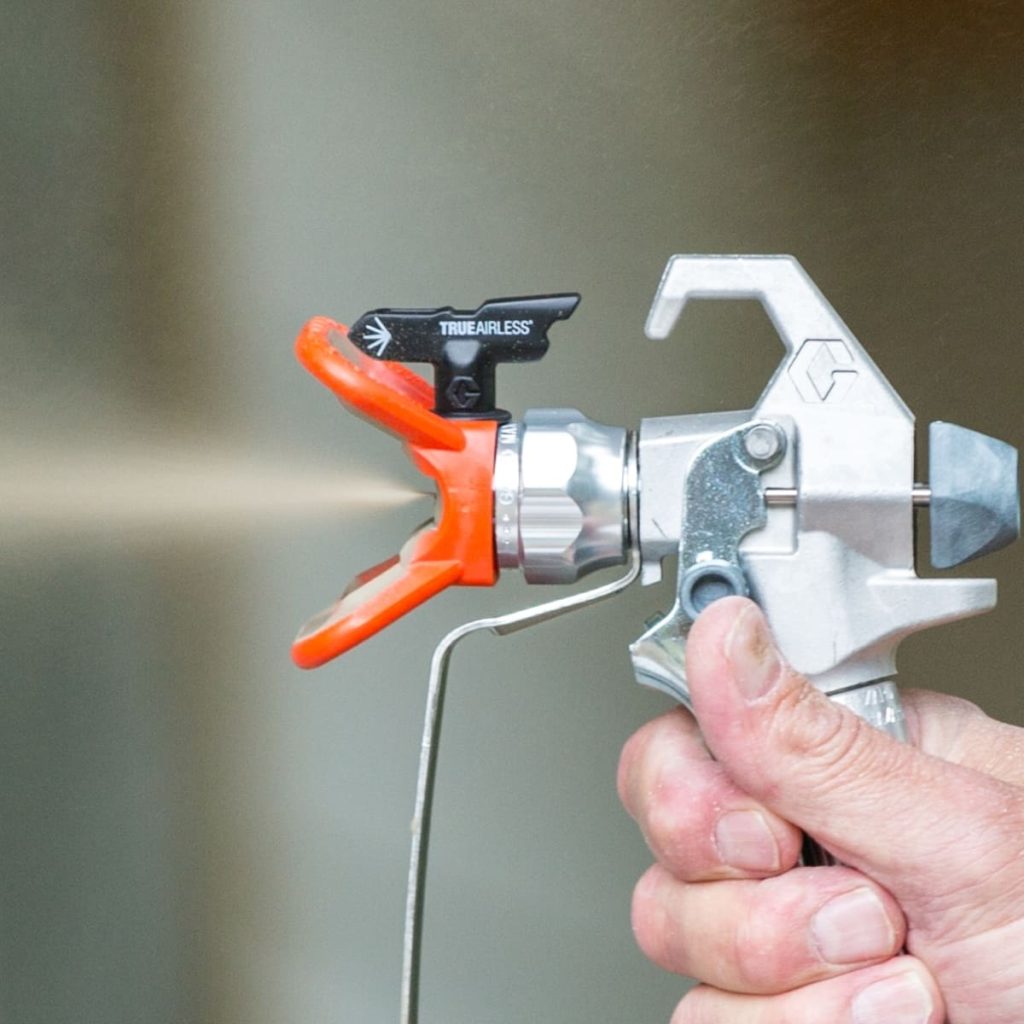
It is essential to thoroughly clean your spray gun after completing your paint job.
Start by wiping down all your equipment, including the spray gun and paint bucket, to remove any residual paint.
Ensure that you allow water to run through the hose, flushing out any remaining traces of paint. This step helps to ensure proper maintenance and longevity of your equipment.
Remember to wipe down your safety gear as well.
Continuous exposure to paint fumes can cause wear and tear on the gear. It is advisable to inspect and, if necessary, install new filters or replace safety equipment like respirators to maintain their effectiveness and ensure safety during future painting projects.
What Types of Paints Can You Mix for Paint Guns?
A variety of paint types can be blended for utilization with a paint gun. Several commonly used options are:
- Latex Paint: Latex or water-based paints are famous for interior and exterior applications. They can be easily mixed with water to achieve the desired consistency for spray gun use.
- Acrylic Paint: Acrylic paints are versatile and commonly used for DIY projects. This paint type can be thinned with water or acrylic mediums to suit spray gun applications.
- Enamel Paint: Enamel paints provide a smooth and durable finish, often used for automotive or metal surfaces. They can be mixed with compatible enamel thinners or reducers to achieve the proper viscosity for spray gun application.
- Oil-based Paint: Oil-based paints are popular for their durability and glossy finish. They require specific solvents or mineral spirits for thinning to the appropriate consistency for spray gun use.
- Automotive Paint: Automotive paints are formulated specifically for painting cars or other vehicles. They typically require mixing with automotive-grade reducers, activators, or hardeners to achieve the desired spray gun consistency.

