Instead of applying a new layer of paint, opt for a meticulous cleaning approach to restore the shine of dull-painted walls. Brighten up your room by thoroughly cleaning your walls on an annual basis. Ensure you balance improving their appearance and avoiding streaking or paint damage.
Achieve optimal results by utilizing the appropriate cleaning solution and technique.
This guide presents a series of step-by-step instructions on effectively cleaning painted walls.
Note: To achieve optimal results and maintain the safety of your painted walls, it is often advisable to enlist the help of a professional home interior painter for thorough cleaning. A professional painting company has the expertise, experience, and specialized equipment to handle different types of painted surfaces and effectively remove tough stains or dirt buildup.
How Often Should You Clean Painted Walls
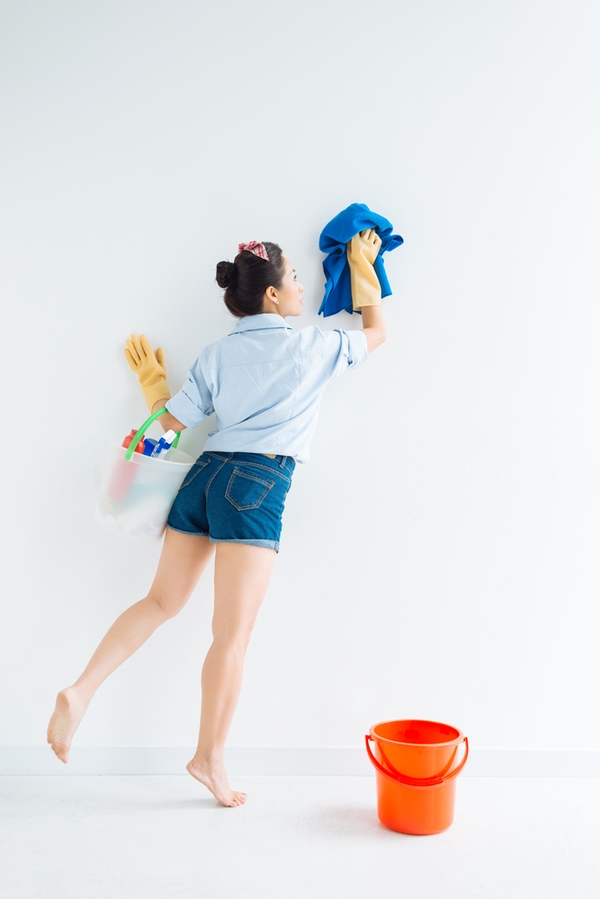
To maintain the cleanliness of your painted walls, it is advisable to include dusting and cobweb removal as part of your regular chores, ideally every month.
For even better results, consider doing this task twice a month. Additionally, it is recommended to clean smudges and dirt around doorknobs and light switches every week. As for larger splatters and crayon scribblings, it is best to clean them immediately to achieve the optimal outcome.
What Do You Need For Cleaning Painted Walls?
To clean painted walls, you need to have some essential tools to get the job done.
| Equipment / Tools | Materials |
| Bucket | All-purpose cleaner |
| Sponges or microfiber cloths | Dishwashing liquid |
| Vacuum or duster | Distilled white vinegar |
| Melamine sponge | Baking soda |
| Step stool or ladder | Isopropyl rubbing alcohol |
| Laundry borax |
Things to Know Before Starting Cleaning Your Painted Walls
Dusting is suitable for all types of paint finishes. However, the paint type and finish will dictate the most effective cleaning method. Identifying your paint type and referring to the following lists for pre-cleaning tips is essential.
Interior wall paint:
- Oil-based paint: This type is commonly used in high-moisture areas. It is highly durable and can withstand frequent cleaning effectively. It is known for its ability to resist cracking and chipping.
- Water-based or latex paint: This is the most common type of interior wall paint. It is more resistant to cracking and chipping compared to oil-based paint. However, it is less receptive to water-based cleaning methods than oil-based paint.
Interior paint finishes:
- Flat or Matte Finish: This finish has an almost chalky appearance with no shine on the surface. It does not hold up well to cleaning, so it’s important to avoid using harsh chemicals or excessive pressure when cleaning.
- Satin or Eggshell Finish: This finish reflects light with a light sheen. It is more durable for cleaning and is suitable for high-traffic areas. Avoid using abrasive cleaners and limit the amount of moisture when cleaning.
- Semi-gloss Finish: This finish reflects light with a noticeable shine. It is an excellent choice for kitchens, bathrooms, doors, and trim. It holds well to moisture and most chemicals, except for the harshest ones.
- High Gloss Finish: This finish leaves a robust and shiny surface. Renowned for its exceptional durability, this finish is an excellent option for furniture, cabinets, and trim. It can be effortlessly cleaned using detergent or a degreaser.
Learn more about types of interior paint finishes.
Now, let’s see how you can clean painted walls without damage.
Determine the Type of Paint Used For Your Walls
When you want to clean painted walls, selecting the appropriate cleaning method is essentially based on the type of wall finish. Here are some guidelines to follow:
For flat, eggshell, or satin finishes:
- These finishes are less durable and more likely to rub off, so avoid scrubbing too hard or using abrasive cleaners.
- Harsh chemicals should be avoided.
- Instead, use mild detergent and water to clean the walls gently.
- For semi-gloss or glossy finishes:
- These finishes, commonly found in kitchen walls, are more durable and can withstand degreasing cleaners.
- However, they are also susceptible to scratches, so use caution when cleaning.
For latex paint finishes:
- These finishes can be cleaned using warm water mixed with a non-abrasive cleaner.
- In addition, it is advised to allow newly-painted walls a minimum of two weeks to completely dry before attempting any cleaning procedures.
Following these tips, you can effectively clean your painted walls while preserving their appearance and durability.
Dust the Walls and Prepare the Room
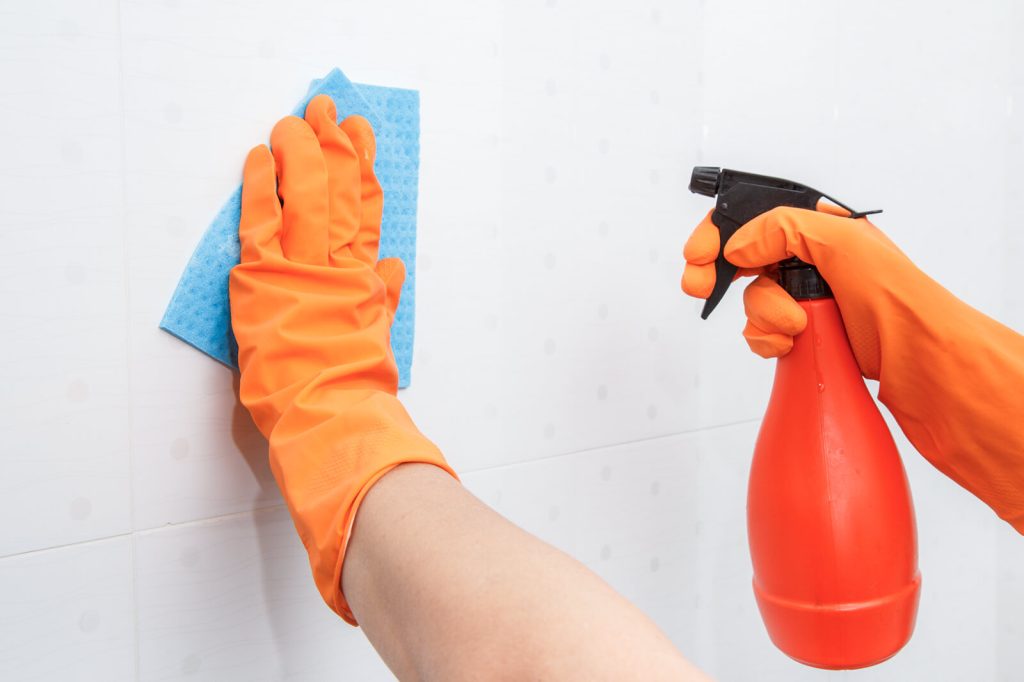
To clean painted walls, take the following steps to prepare the area for cleaning painted walls:
1. Remove any paintings, lamps, or other objects hanging on the walls to ensure they don’t obstruct the cleaning process.
2. Move furniture away from the walls to create enough space to work comfortably.
3. Dust the walls by gently wiping them with a tack cloth or cheesecloth to remove any loose dirt, dust, or cobwebs.
Tip: To prevent water from dripping onto the floor, place newspaper, a drop cloth, or towels against the baseboards as a protective barrier.
Now Wash The Painted Walls With Precision

To clean painted walls, you need to wash them first after the dusting step. Here is how you can do it:
- Use plain warm water if possible: In many cases, plain warm water is sufficient for washing walls.
- Soapy water for stains or marks: If there are stains or marks, especially if there are crayon marks from children, make a mixture of water and a small amount of mild detergent to create a soapy solution.
- Wear kitchen gloves: To protect your hands during the cleaning process, it is advisable to wear them.
- Prepare cleaning supplies: Fill a bucket with mild soapy water for washing the walls. It is recommended to have a separate bucket of clean water available for rinsing purposes. Before using, ensure that you thoroughly wring out a soft cleaning sponge to remove excess water.
- Test cleaning product: Before applying any cleaning product on the painted walls, test it on a small, inconspicuous area, such as behind a piece of furniture or wall art. This will ensure that the cleaning product doesn’t cause streaks or discoloration.
- Start from the top left-hand side: Start the cleaning process from the top left-hand side of the wall, gently washing downwards. Utilize the mildly damp sponge in a circular motion for effective cleaning.
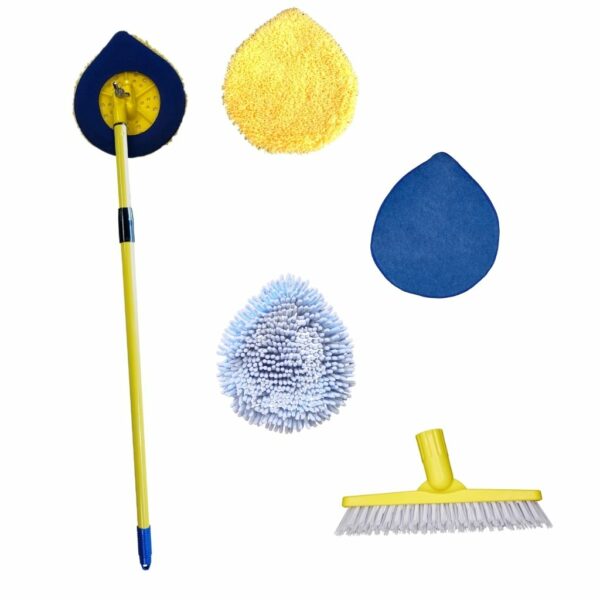
- Consider using a sponge mop for large rooms or high walls: To make the task of cleaning painted walls in large rooms or areas with exceptionally high walls more manageable, it is recommended to use a sponge mop with a long handle. This allows you to reach higher areas without the need for ladders or excessive stretching.
- Avoid coloured soaps or dyed sponges: To prevent potential staining, it’s best to avoid using coloured soaps or dyed sponges on painted walls.
Tip: Opt for a warm, dry day to wash the walls. Opening the windows afterward will help the excess water to dry faster, ensuring quicker drying of the walls.
Clean Stains and Spots On Your Painted Walls
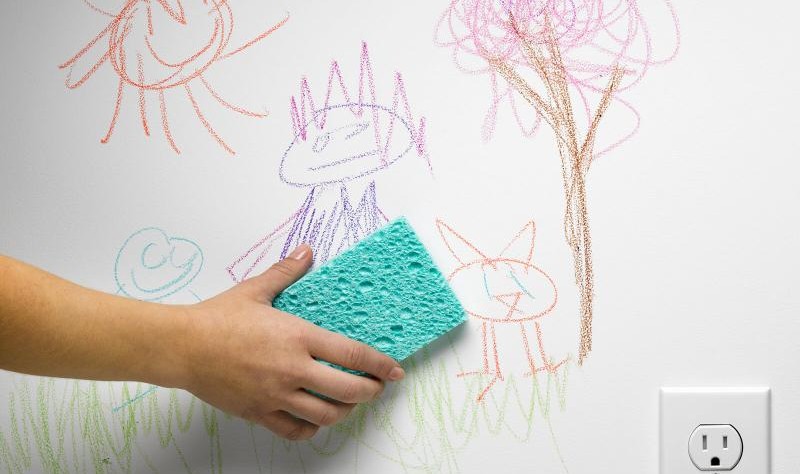
To clean painted walls, It is essential to address scratches, spots, or wall discolorations as soon as possible, as they are easier to remove when fresh. Follow these steps to tackle them effectively:
- Start with a damp rag or non-abrasive sponge: Gently dab the stain with a wet cloth or sponge. Sometimes, the colour may come off without soap or a cleaner.
- Try baking soda: If a stain persists, you can try one of two methods. First, dip a damp cloth in dry baking soda and use it to gently scrub the mark. Alternatively, you can create a solution of baking soda and water and use a cloth or sponge to scrub the stain using the baking soda mixture.
- Test a more robust cleaner if necessary: Consider using a more powerful chemical cleaner if the stain remains stubborn. However, it is crucial to test the cleaner on a small, inconspicuous wall area first to ensure it doesn’t cause any damage or discoloration.
- Wipe away residue: After cleaning the affected area, ensure to use a clean cloth or sponge to thoroughly wipe away any residue left behind by the cleaner. This step helps in achieving a clean and residue-free surface.
Touch Up With Wall Paint
If you encounter stubborn stains or marks on the wall that cannot be removed through cleaning, you may need to conceal them with touch-up paint. Follow these steps for an effective touch-up process:
- Use paint from the original can: Whenever possible, paint from the actual can be used to paint the walls. It is important to match the means of the application when cleaning painted walls. For example, if the paint was applied using a brush, use a small brush for cleaning. If the paint was applied using a roller, use a roller for cleaning as well. This ensures consistency and helps maintain the integrity of the paint finish.
- Match the colour and sheen: If you need to purchase more paint for touch-ups, ensure you buy the same colour and sheen as the existing paint on the walls. This will help achieve a seamless blend.
- Apply the touch-up paint: Gently roll or feather a small touch-up colour onto the affected area. After cleaning the painted walls, it is essential to allow them to dry in accordance with the instructions provided by the paint manufacturer. Following the recommended drying time ensures proper curing and maintains the integrity of the painted surface.
By taking the time to clean your walls and addressing any imperfections with touch-up
How to Maintain Your Painted Walls Clean?
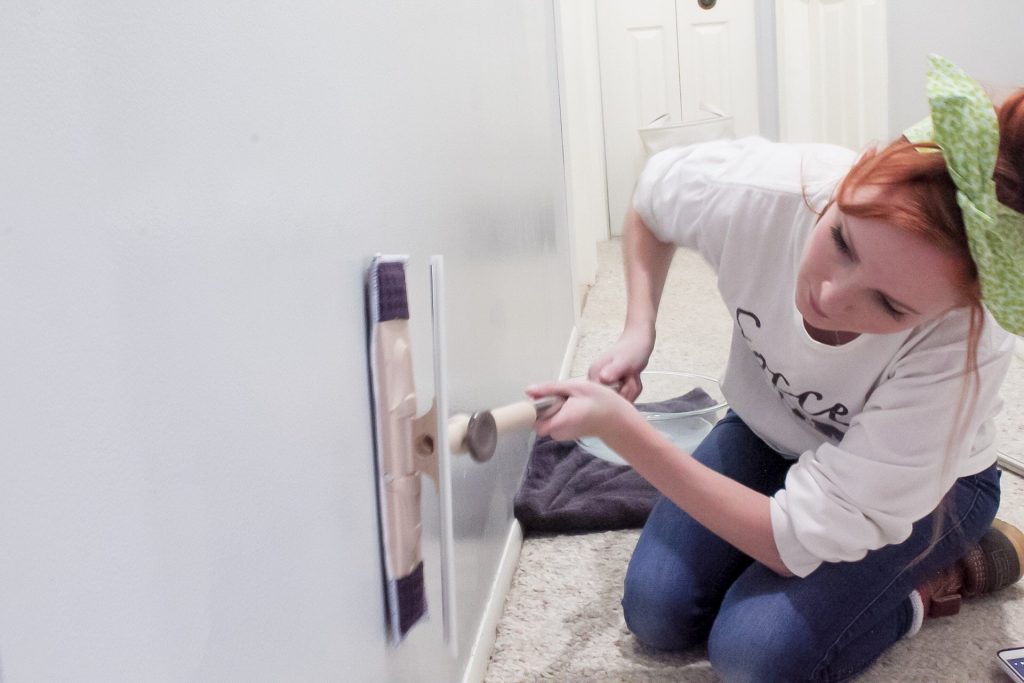
To minimize the frequency of wall cleanings and reduce your workload, there are several steps you can take. Consider the following tips:
- Minimize smoke indoors: Avoid activities that generate smoke inside your house, such as smoking tobacco, extensive cooking, and burning candles or incense. The soot produced by combustion can accumulate on walls, causing them to become dirty more quickly.
- Spot clean regularly: Take the initiative to immediately spot clean walls when you notice smudges or handprints, even before the scheduled deep cleanings. Regular spot cleaning helps maintain the appearance of clean walls for longer.

