Among the innovative emerging techniques, geometric wall painting is a dynamic and visually striking approach to transforming ordinary walls into captivating focal points. This unique form of artistic expression combines precision with creativity, inviting homeowners and designers alike to explore the intersection of mathematics and aesthetics. In this comprehensive guide, we delve into the world of geometric wall painting, unravelling the techniques, inspirations, and step-by-step processes that empower you to embark on your journey of turning blank walls into mesmerizing works of art. Whether you’re a seasoned artist or a novice decorator, this article will provide the insights and inspiration needed to master the art of painting geometric walls and infuse your living spaces with an unparalleled sense of style.
What is Geometric Wall Painting? Defining Artistry through Symmetry

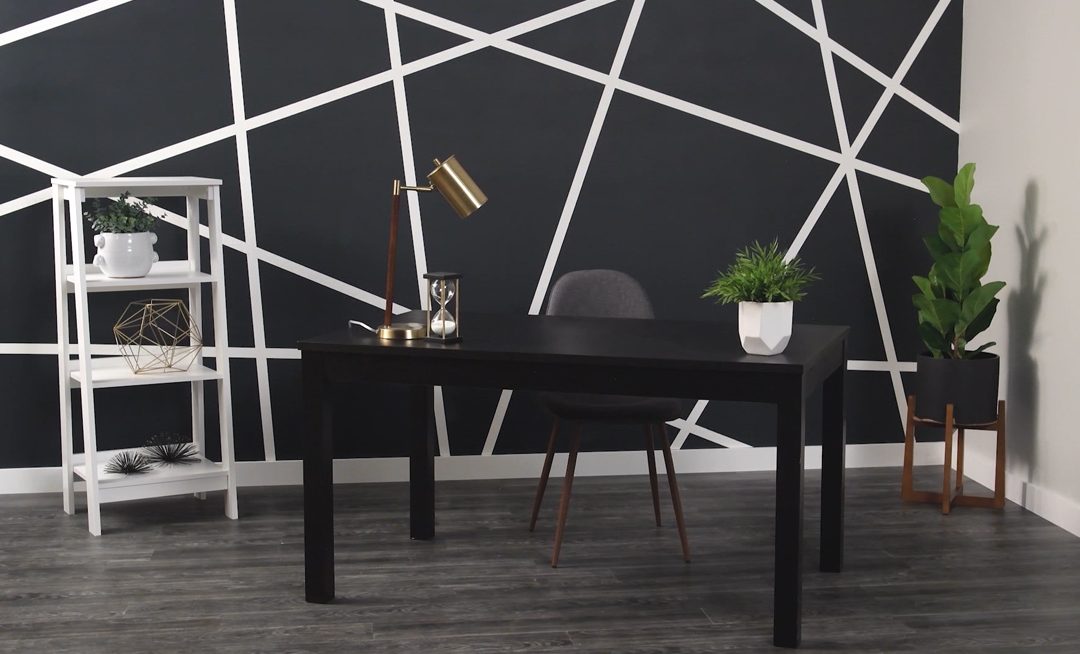
Geometric wall painting is a contemporary design trend that marries the principles of mathematics with the aesthetics of visual art. This technique involves the application of precise geometric shapes, lines, and patterns onto interior walls to create visually striking and harmonious compositions.
Combining crisp angles, clean lines, and contrasting colours, geometric wall painting introduces a sense of order and symmetry to spaces while infusing them with an avant-garde and modern flair. This art form challenges conventional notions of interior design, allowing for the exploration of dimension, depth, and optical illusions that captivate the eye and transform walls into captivating masterpieces.
GeometricGeometric Wall: Process
Creating a stunning geometric wall is an exciting journey that requires careful planning, precise execution, and an artistic eye.
This section will help you navigate the geometric wall painting process with confidence and achieve a captivating geometric masterpiece:

Step 1: Preparation and Planning
- Inspiration Gathering: Begin by immersing yourself in various sources of inspiration. Explore art books, online platforms, and architectural designs to find geometric patterns that resonate with your style and room’s ambiance. Consider the emotion you wish to express and choose colours that blend well with the interior design.
- Wall Prep: Before painting a geometric wall, ensure your wall is in prime condition. Clean the wall surface thoroughly to remove dust, dirt, and grease. Smooth rough spots by sanding them down, and fill in holes or cracks with spackling paste. A well-prepared wall is essential for a flawless result.
Step 2: Materials and Tools for Painting Geometric Walls
- Painter’s Tape: Opt for high-quality painter’s tape that guarantees clean, sharp lines. This tape will act as a boundary between different sections of your geometric design.
- Measuring Tools: Accuracy is critical in geometric wall painting. Arm yourself with a reliable ruler, a level to ensure horizontal and vertical precision, a protractor for angles, and a measuring tape to mark distances.
- Pencils and Erasers: Start with light pencil sketches to directly map out your geometric design on the wall. Keep erasers nearby for any adjustments or corrections.
- Paint and Brushes: Choose high-quality paint that aligns with your colour scheme. For intricate detailing, gather brushes of varying sizes and shapes to accommodate different aspects of your design.
Step 3: Design Mapping
- Reference Points: Begin by identifying reference points on the wall, such as corners or architectural features, that will anchor your geometric shapes. These points will ensure your design stays balanced and aligned.
- Sketching: Using a pencil, lightly mark the starting points and endpoints of your geometric shapes. Employ the measuring tools to ensure accurate dimensions and angles. The precision you establish here will guide your entire painting process.
Step 4: Taping and Painting Geometric Walls
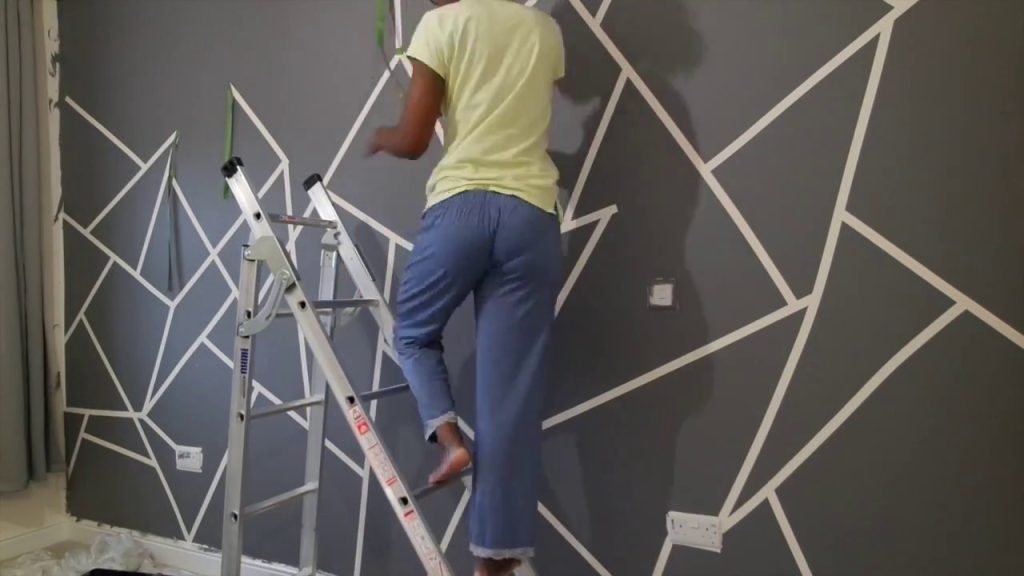
- Tape Application: With your pencil lines as guides, carefully apply painter’s tape along the edges of your geometric shapes. The tape is a barrier, preventing paint from bleeding into adjacent areas.
- Base Coat: Begin with a base coat that serves as a background for your design. Use a roller or brush to apply the base coat evenly across the wall. This coat helps set the stage for your geometric patterns.
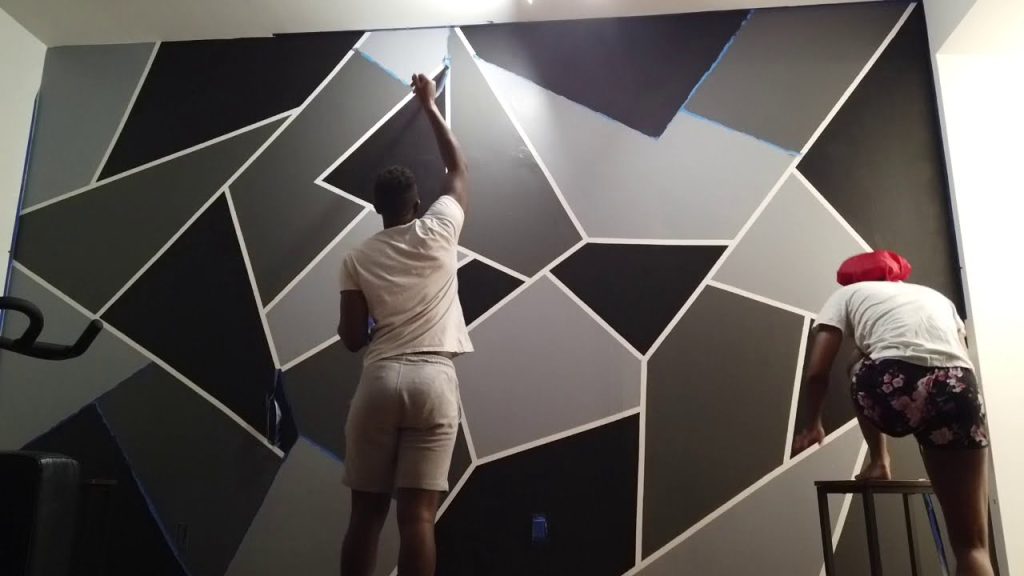
- Primary Colors: Move on to painting the individual sections of your geometric wall design with the chosen colours. Apply multiple thin coats for a smooth and even finish. Let every layer dry before moving on to the following, ensuring a vibrant and uniform colour.
Step 5: Tape Removal and Touch-Ups
- Tape Removal: As the paint is still slightly wet, gently and patiently peel off the painter’s tape at a 45-degree angle. This technique helps prevent the tape from lifting any dried paint, ensuring crisp edges.
- Clean Lines: Inspect the edges of your painted geometric shapes. If you notice any uneven lines or paint bleed, use a small brush dipped in the appropriate colour to carefully touch these areas.
Step 6: Finishing Touches
- Detailing: For added depth and complexity, consider incorporating finer details. Use a thin brush to add accent lines, shading, or highlights that bring your geometric design to life.
- Sealing: Depending on the paint you’ve used, you may want to apply a clear sealant to protect your artwork from wear and tear. This step enhances the longevity of your geometric wall and maintains its vibrancy.
Step 7: Admire and Reflect
Step back and admire your completed geometric wall masterpiece. Take a moment to appreciate how your artistic endeavour has transformed a blank surface into a visually captivating focal point. Reflect on the creative process and the satisfaction of achieving such intricate precision.
While the allure of painting geometric walls yourself is tempting, tapping into the expertise of professional home interior painters is a smart move. Let them weave their magic, ensuring a flawless finish that truly wows!

