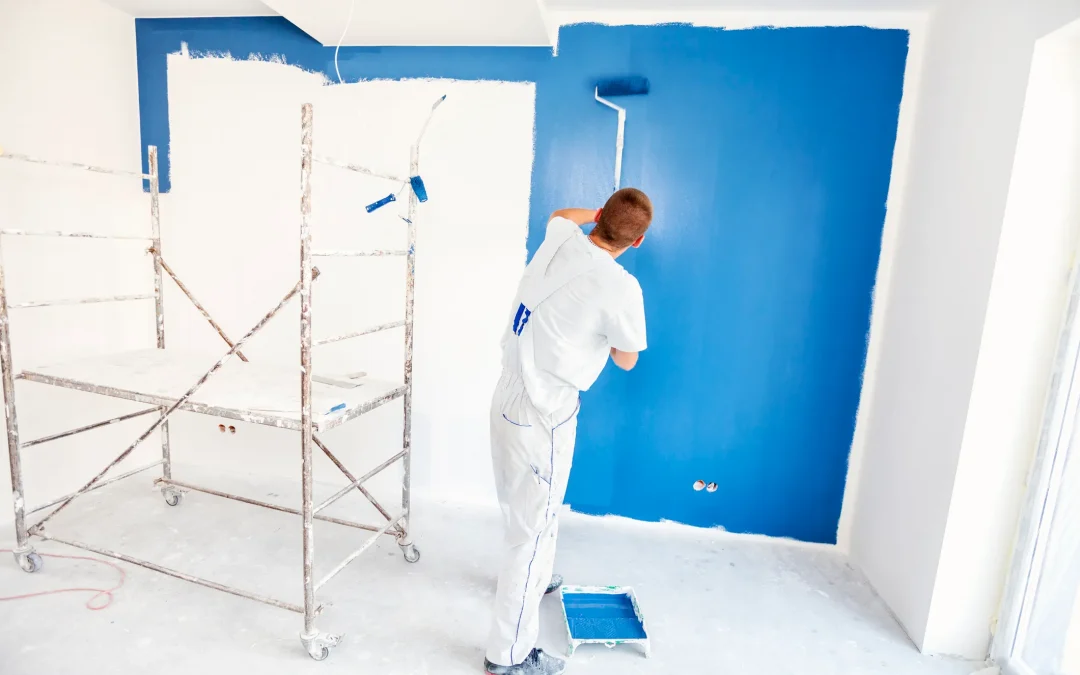
Learning to paint a room professionally is vital for novice DIYers, new homeowners, and seasoned home renovation professionals. Continue reading to learn how to paint a room and ensure the success of your work.
Although this guide will help you paint your rooms like professionals, we recommend you benefit from professional house painting services to avoid any imperfections. Additionally, professionals will get the job done in a faster and more efficient way since they have experience and the right tools to do so.
1. Clean Up Mistakes While They’re Wet
If accidental brushstroke lands on the wall, don’t worry—wet paint is relatively easy to remove. If you have a moist towel, you may stretch it over your finger and wipe the wet paint off the wall.
Gather the extra towel in your palm to keep it from contacting the wet baseboard.

2. To Paint a Room Professionally, You Should Use Painter’s Tape
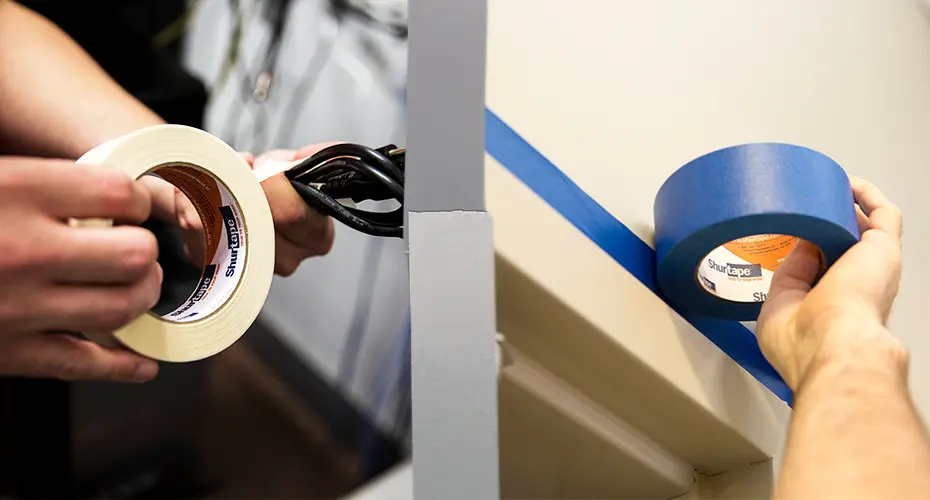
Apply painters or masking tape firmly to the base and crown moldings, corners, and door and window casings of the room, sealing with a putty knife if necessary.
It’s critical to have a solid seal so that paint doesn’t go under the tape, and it should peel away cleanly once everything is dry. Remove the light switch and outlet covers and wrap them with painter’s tape to shield them from paint drips.
3. Remove Everything From the Room
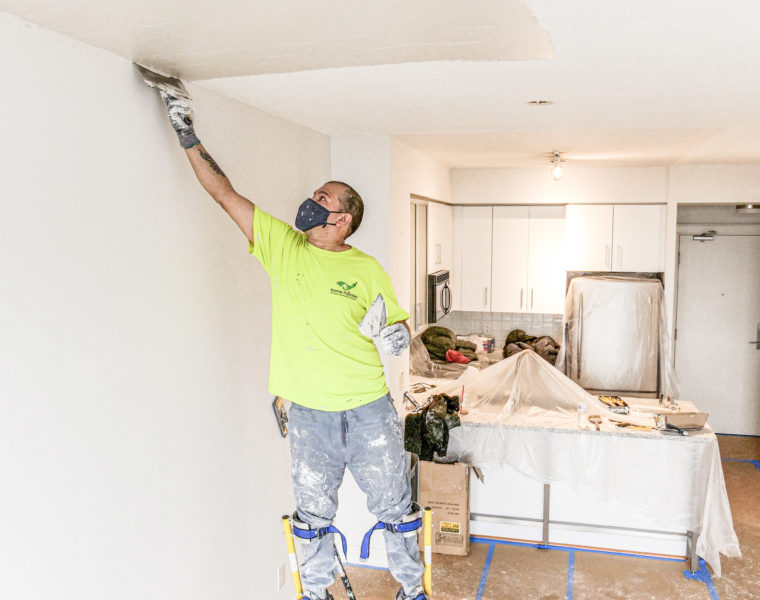
To begin, remove all items from the room. Bigger furniture can occasionally be covered in the center of larger rooms, but remove everything if you pat drywall. The dust from drywall gets everywhere.
Purchase drop cloths as well. Purchase high-quality drop cloths like canvas or paper-backed plastic. Plastic sheeting is effective, although it is slick and does not absorb drops.
4. Sanding is Essential When You Want to Paint a Room Professionally
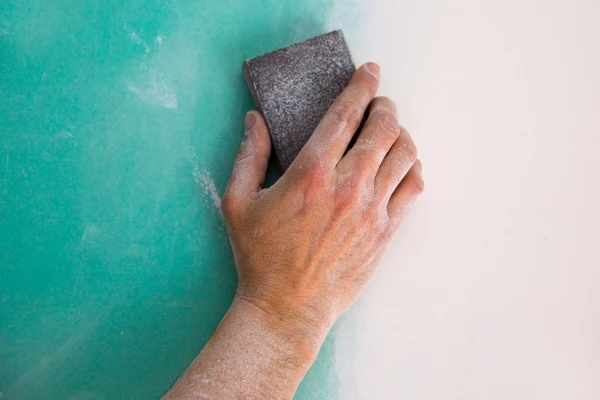
Sanding removes damaged paint and adds “tooth” to the next coat of paint. Instead of sandpaper, use a sanding sponge for glossy trim. Sponges adjust to the curve of the trim and outlast paper.
5. Sponge-Bath Walls
Do not paint over dust unless you want textured walls. Use trisodium phosphate (TSP) or a light cleanser to clean the walls. Use a 50/50 combination of bleach and water to clean smoke-stained walls.
Two buckets are needed to clean a wall—Scrub with a cloth or sponge from your cleaning solution bucket. Rinse the sponge in a second bucket of clean water before redipping.

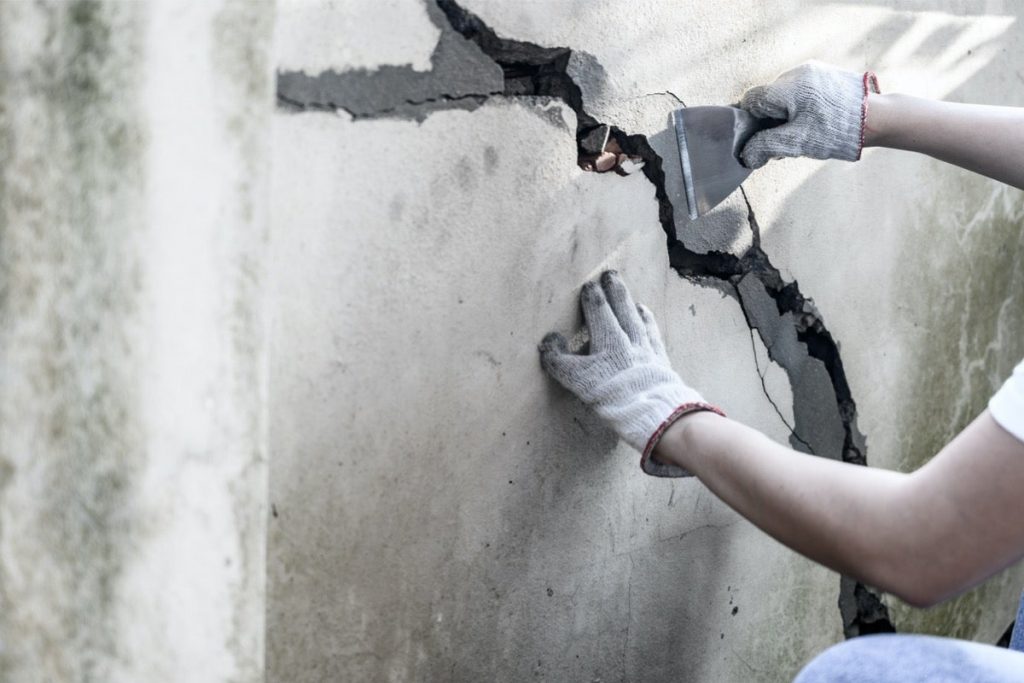
6. Caulk All Cracks
Filling gaps with paintable acrylic-latex caulk reduces airflow and makes your trim seem new. The key to applying caulk is to cut the tip smaller than you believe it should be; too much caulk results in a sloppy mess.
Also, rather than using a nail to break the inner seal, use a thin wire to avoid stretching out the nozzle.
7. Roller Rules
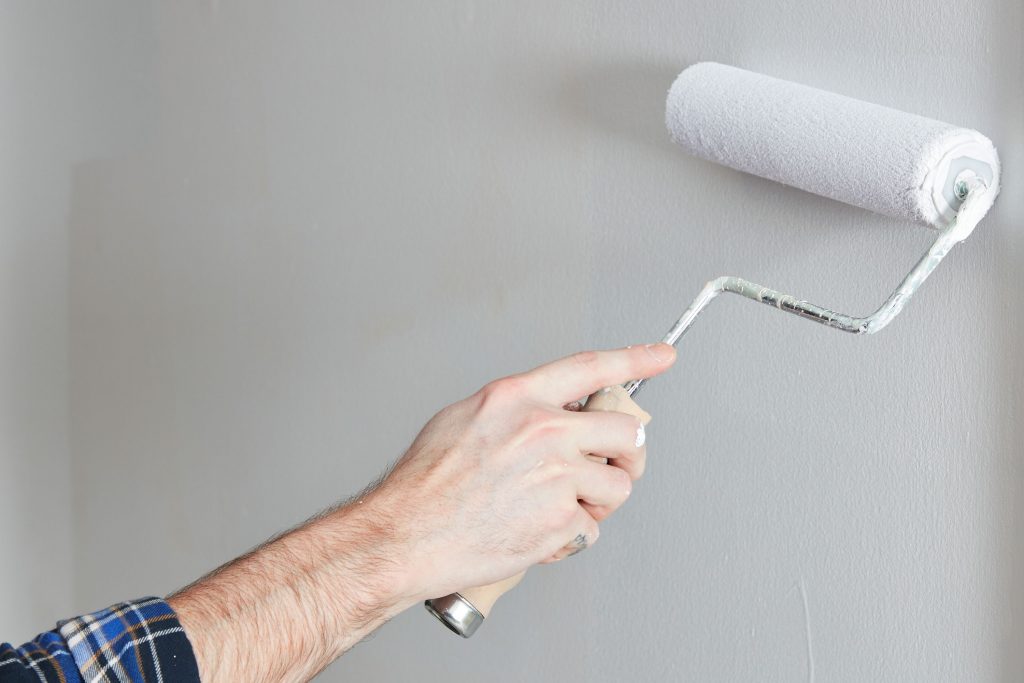
Longer nap causes the paint roller to retain more paint. A lamb’s-wool roller with a 1/2-inch nap retains a lot of paint without adding too much texture. Less expensive rollers can be used; wash them with dishwashing solutions first to eliminate any stray fibers.
Most professionals we spoke with favor 9-inch rollers over 18-inch versions because they are lighter, less expensive, and easier to handle. You can also use roller covers for different textures.
Another way of painting your room is using spray painters. However, it would be best to contact experts for spray painting services since it has unique tricks and requires experience.
8. To Paint a Room Professionally, Buy a Better Brush
To paint a room professionally, you need a high-quality paintbrush. For oil-based paints, specialists recommend natural-bristle brushes, but they recommend synthetics for all-around use. Consider the bristles while selecting a brush.
Nylon, polyester, or a mix of the two make synthetic brushes. Poly bristles are firmer, making them ideal for external or rough work, while some prefer softer nylon brushes for fine inside work.
9. Load a Paint Brush the Right Way
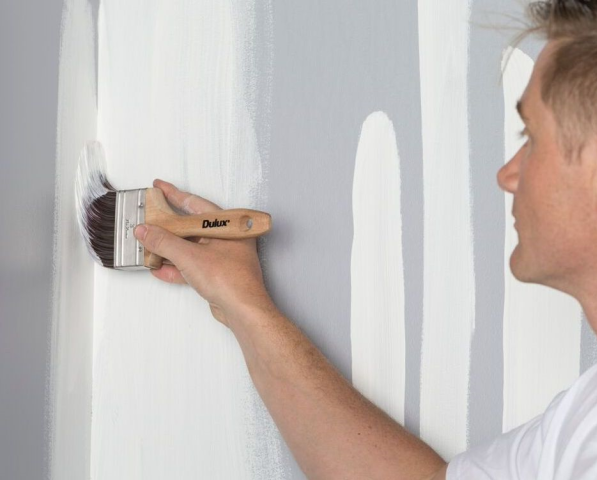
To paint a room professionally, you must know how much to put on the brush. We suggest dipping the brush into the paint can slightly to get two fingers’ width of paint on the end of the brush.
If the ferrule is loaded with excess paint, the brush won’t paint as well. The paint job will take forever if it is too little.
10. Start Low and Work Your Way to the Edge
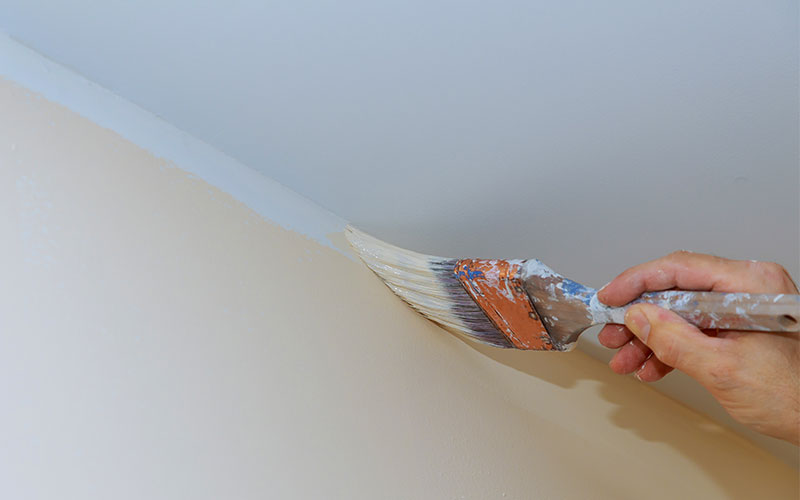
If you want to paint a room professionally, you don’t have to go right to the seam between the wall and the molding when painting baseboards. Instead, start lower on the baseboard and work your way up until the paint flows.
Then, carefully work your way toward the seam, bringing paint up to the junction. This eliminates puddling at the seam, leading to many crisper lines. If the paint gathered where you began, spread it out using the brush.
11. Do Doors Right
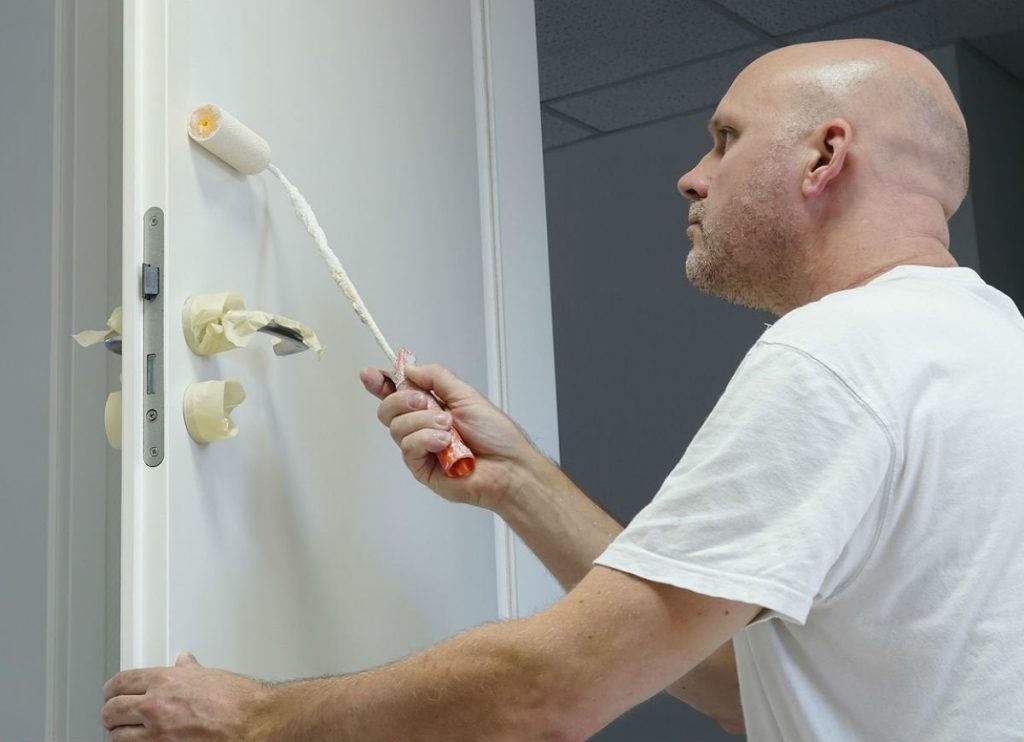
Most professional painters have no issue painting doors while still in place. Still, for beginners to paint a room professionally, they recommend that you rest the door on sawhorses and paint horizontally. Start with the panels and work toward the middle if you have a paneled door.
Keep an eye out for paint color puddles in the corners. While the paint is still wet, use an almost dry brush to carefully “tip off” the panel.
Conclusion
The duration of your job is determined by the square feet you need to paint, the painting method, whether you are using the correct brushes and rollers if you are painting the ceiling, and your skill level. While some spaces may be completed in a matter of hours, others may require many days.
The last thing that you need to remember, is to store leftover paint after finishing your room painting project.

